You can create a new ticket on behalf your customers from the SupportBee interface. This can be useful when you have an issue come up, or want to track communication with a customer that does not have a ticket already. To create a ticket for a customer:
- Click on the 'New ticket' button in the top left corner of the SupportBee interface

- Enter the required details in the form
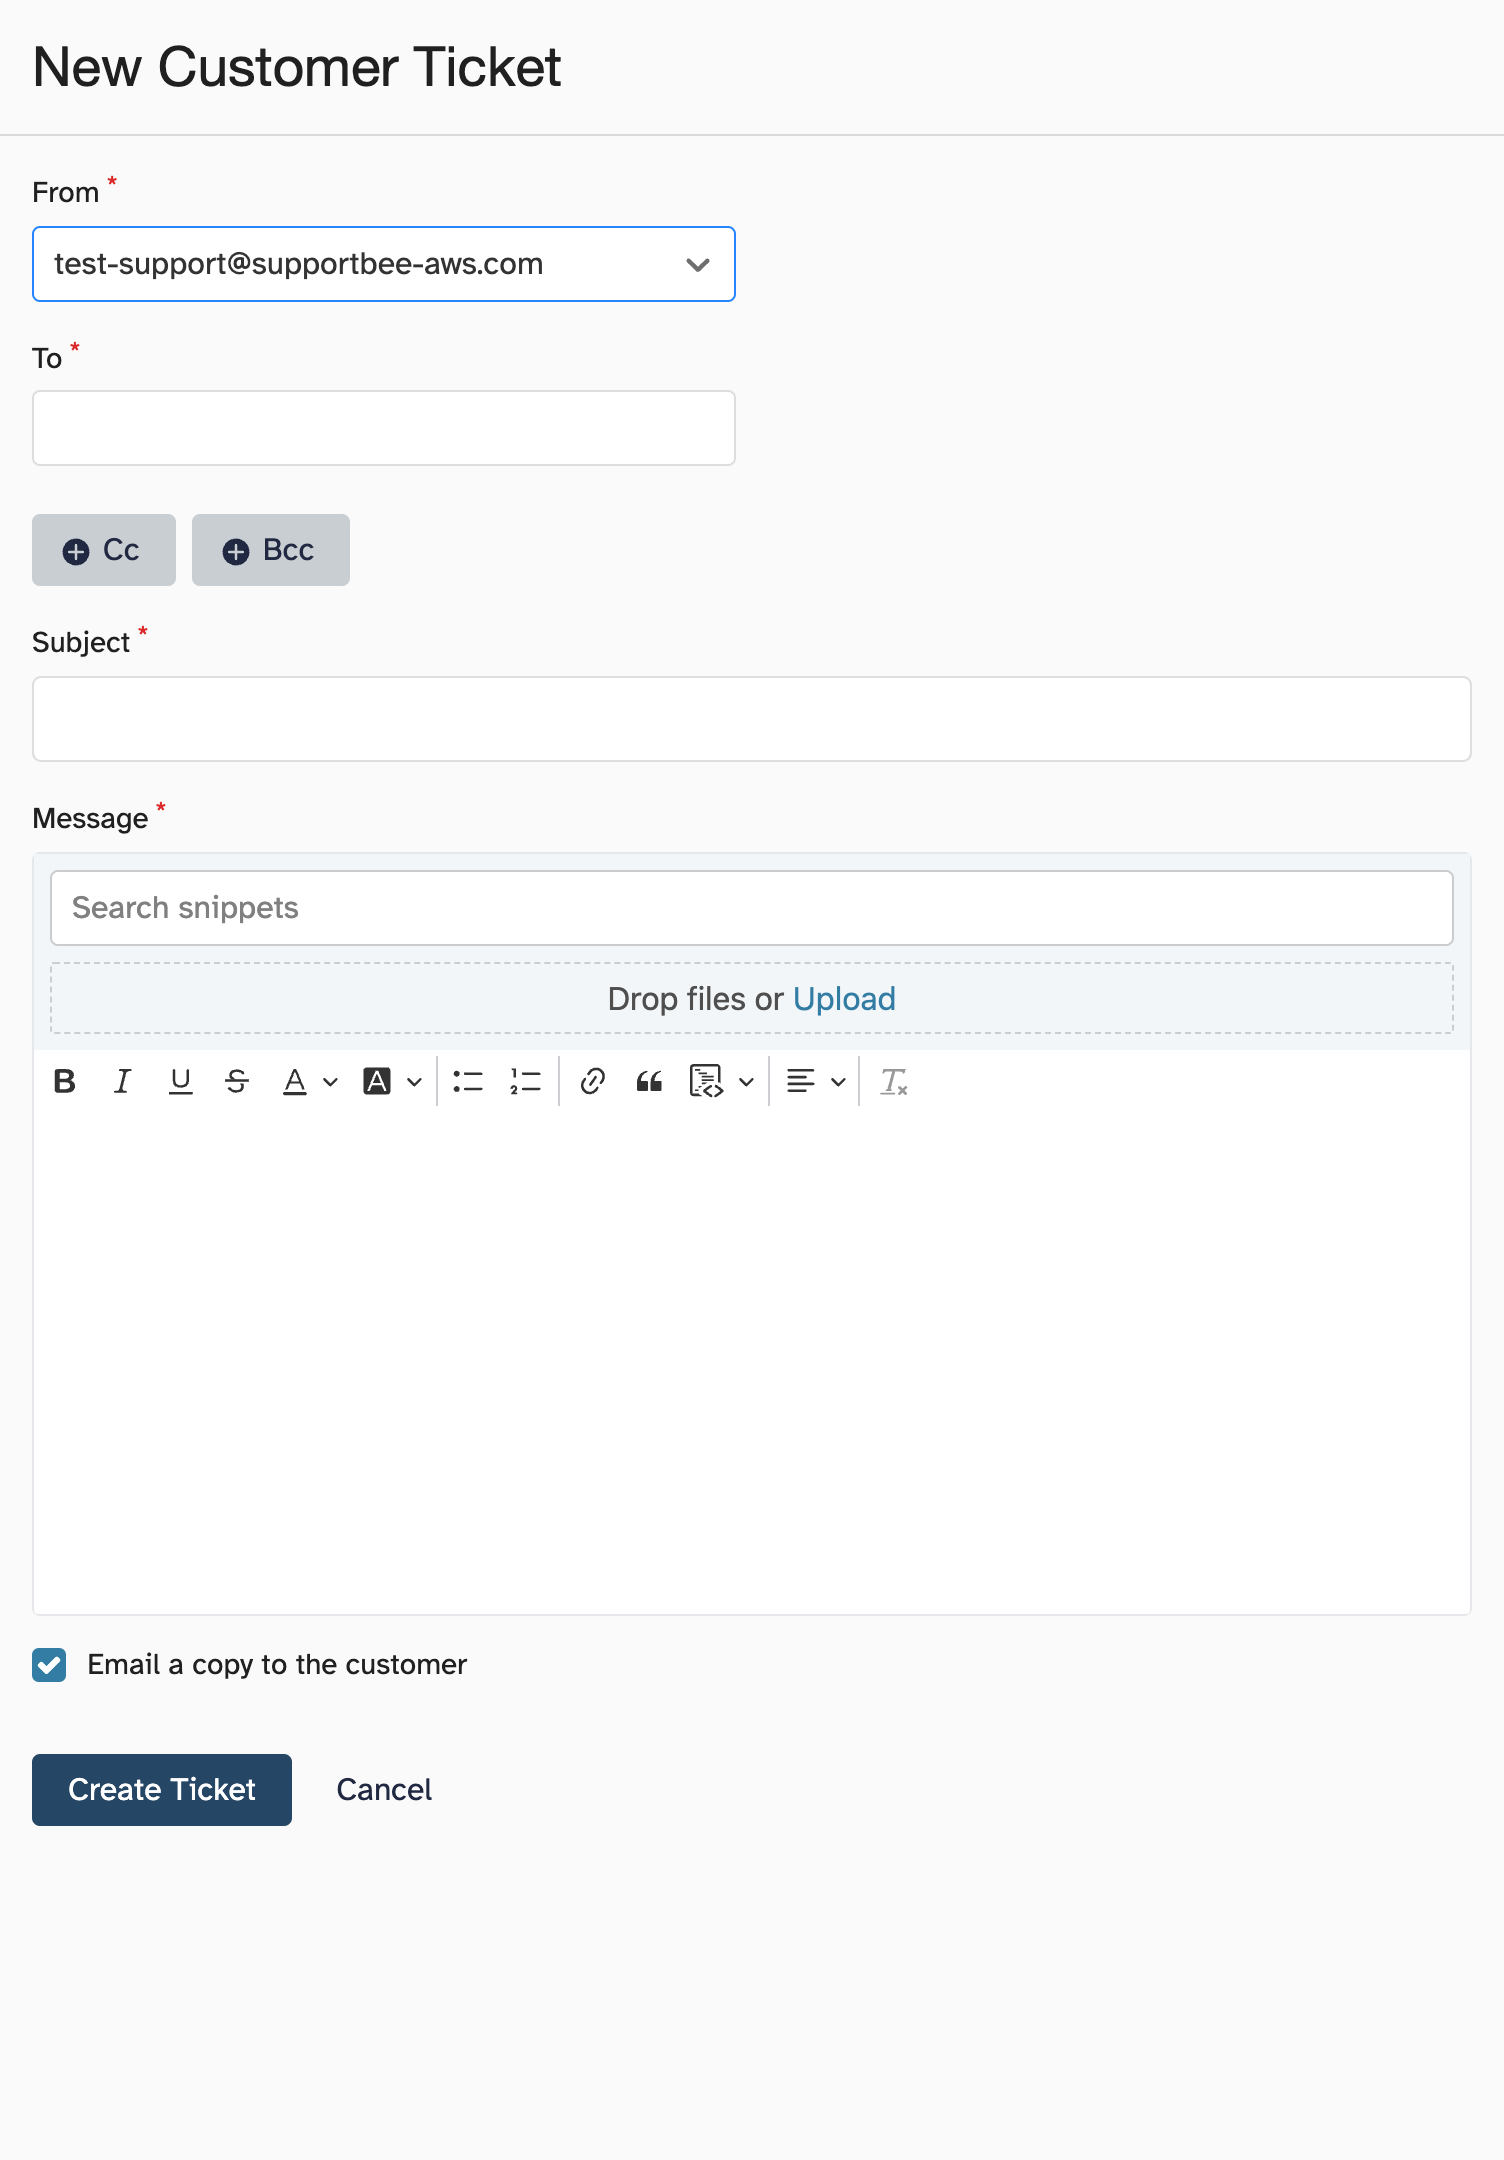
- Click on 'Create Ticket' and you will find this ticket in the Unanswered list
Notifying customers of created tickets
Yes. Right above the 'Create ticket' button in the form, you have the notify option. This option is checked by default, but you can uncheck it if you prefer.
Choosing the from address
If you have multiple forwarding addresses, you can pick the 'From address' of your choice from the drop-down list in the 'Reply Email' section. This will be used in the auto responses and replies for the created ticket.
Using snippets in new tickets
No, at this point we don't support the ' Snippets' feature for new tickets created from the interface.
Attaching files to new tickets
Yes. You will see the option for attachment right below the message window. You can either drag and drop the file you want to attach or select from your computer.
Adding CC and BCC to new tickets
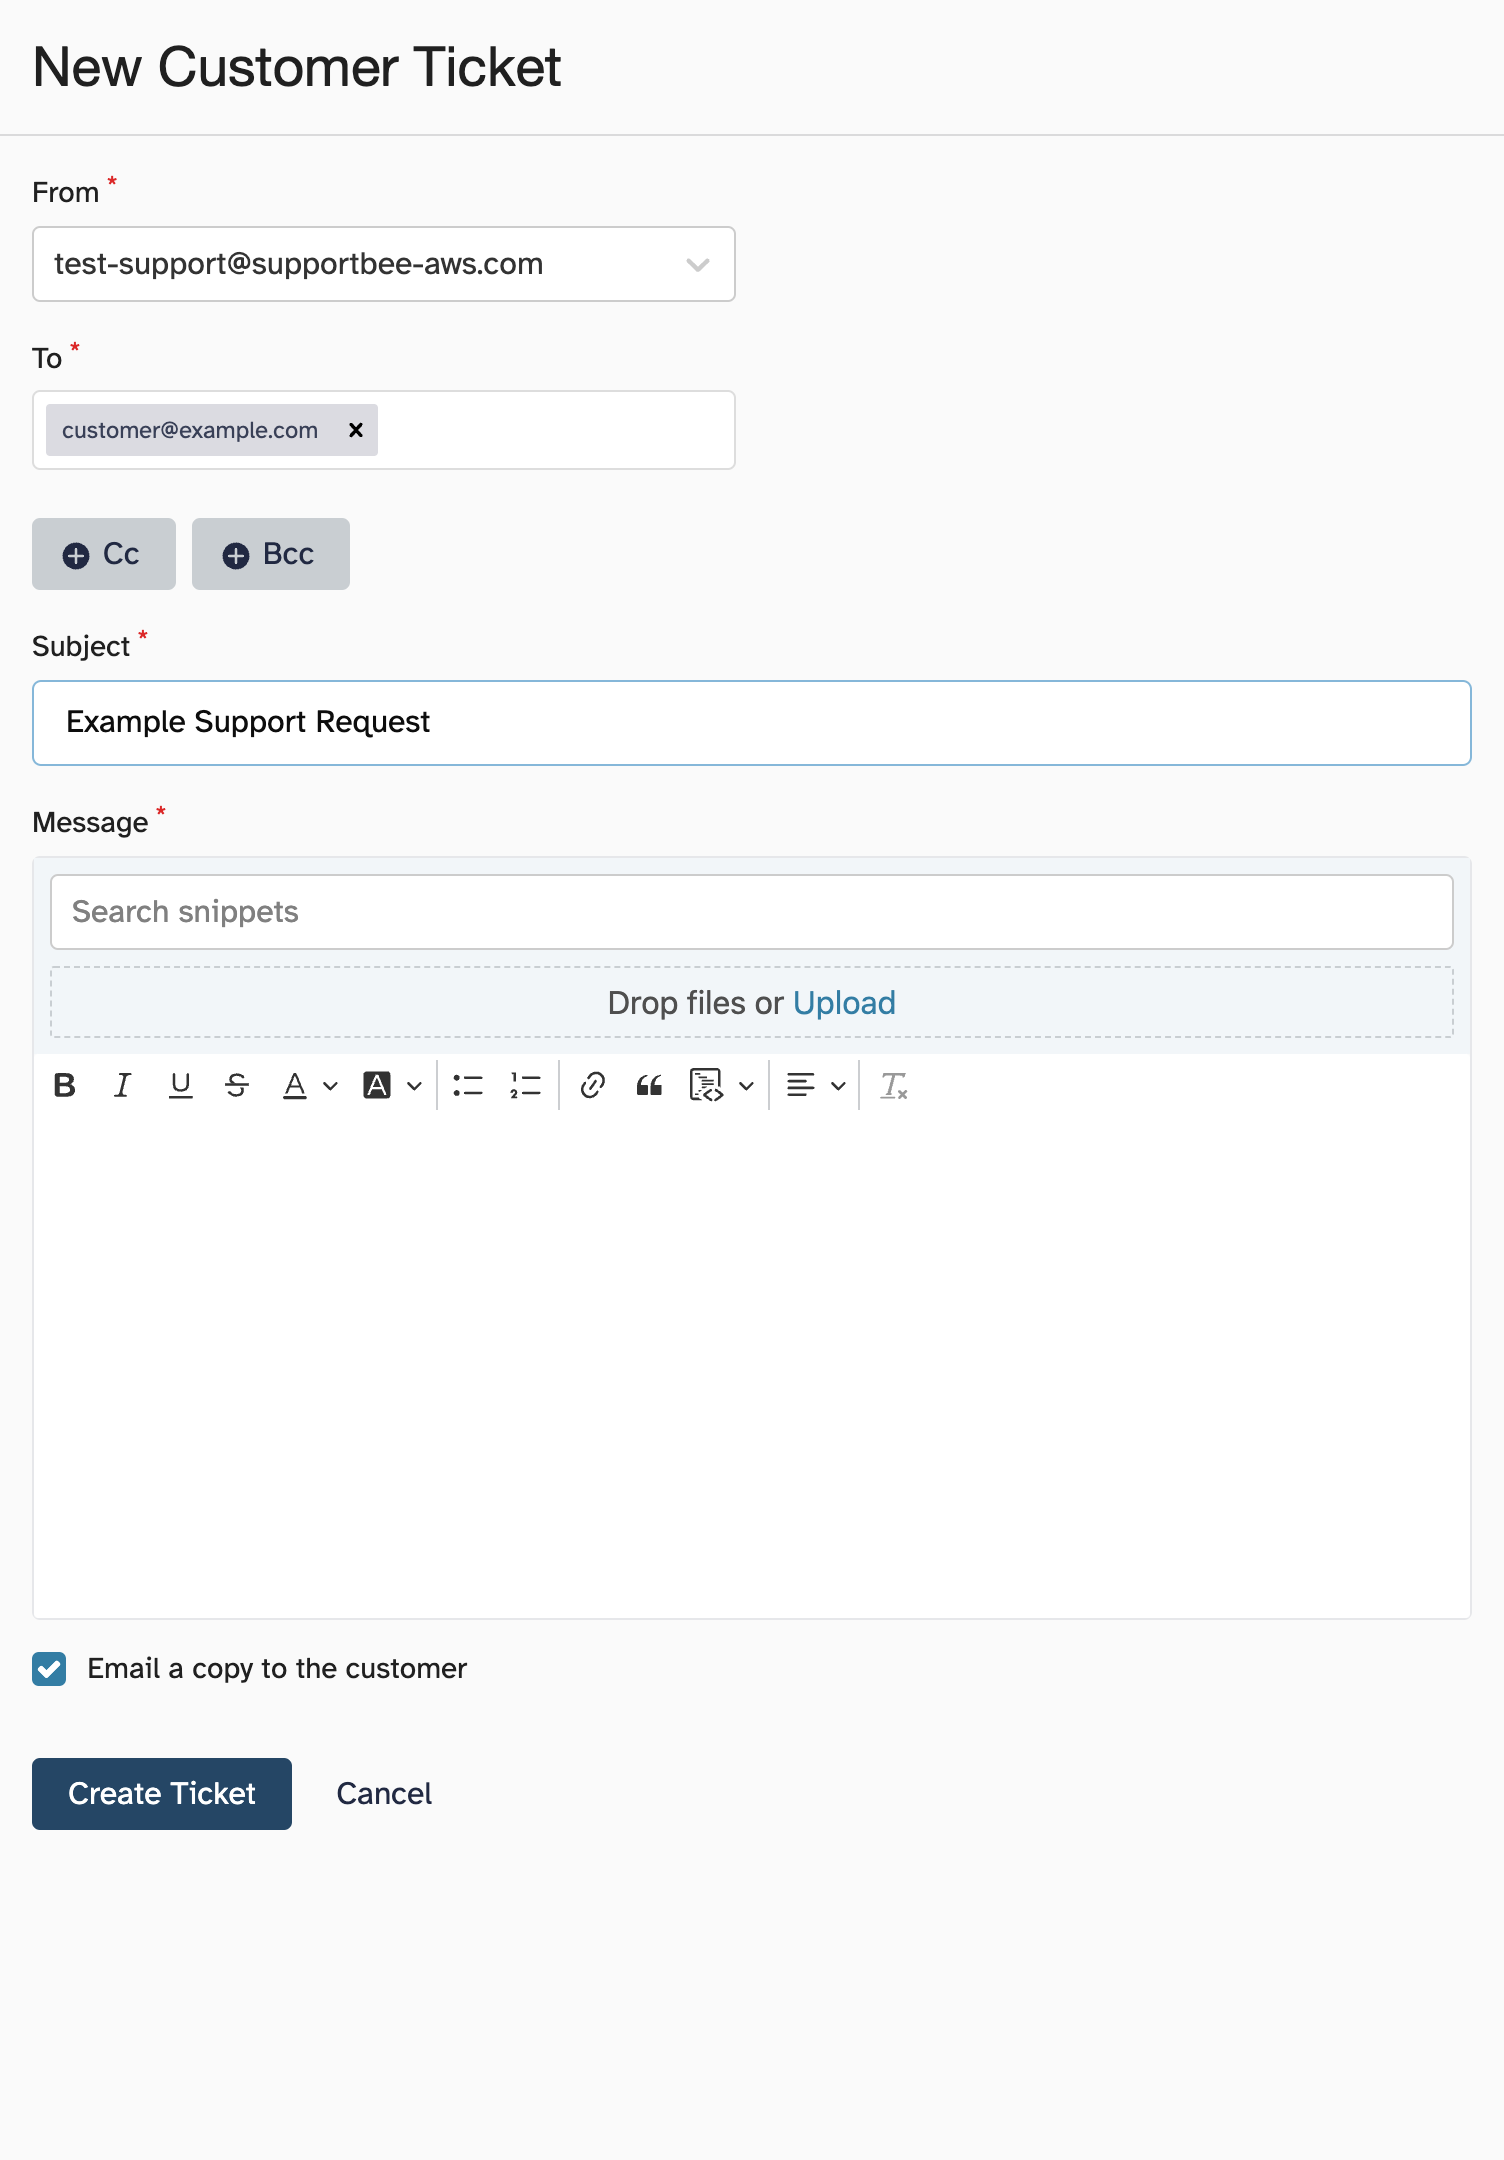
You can add CC or BCC to new tickets by clicking on the '+' sign next to the options. You will find it below the 'Customer Email' text box. You can add multiple email addresses for both CC and BCC.
Removing CC and BCC
Click on the 'cross' icon next to the CC'd or BCC'd email address to remove addresses that you don't need.