Much like Gmail's filters, filters in SupportBee allow you to automate many help desk functions (like adding a label/assigning to a user etc) on a new ticket if certain pre-defined conditions are met. For example, you may want to assign a ticket coming to [email protected] to 'Support Group' or you may want to add the label 'urgent' to tickets with 'downtime' in the subject.
Creating a filter
After you login as an admin on your ticketing page,
- Click on Admin link in the top left corner of the screen
- Select the Filters tab from the left-side menu
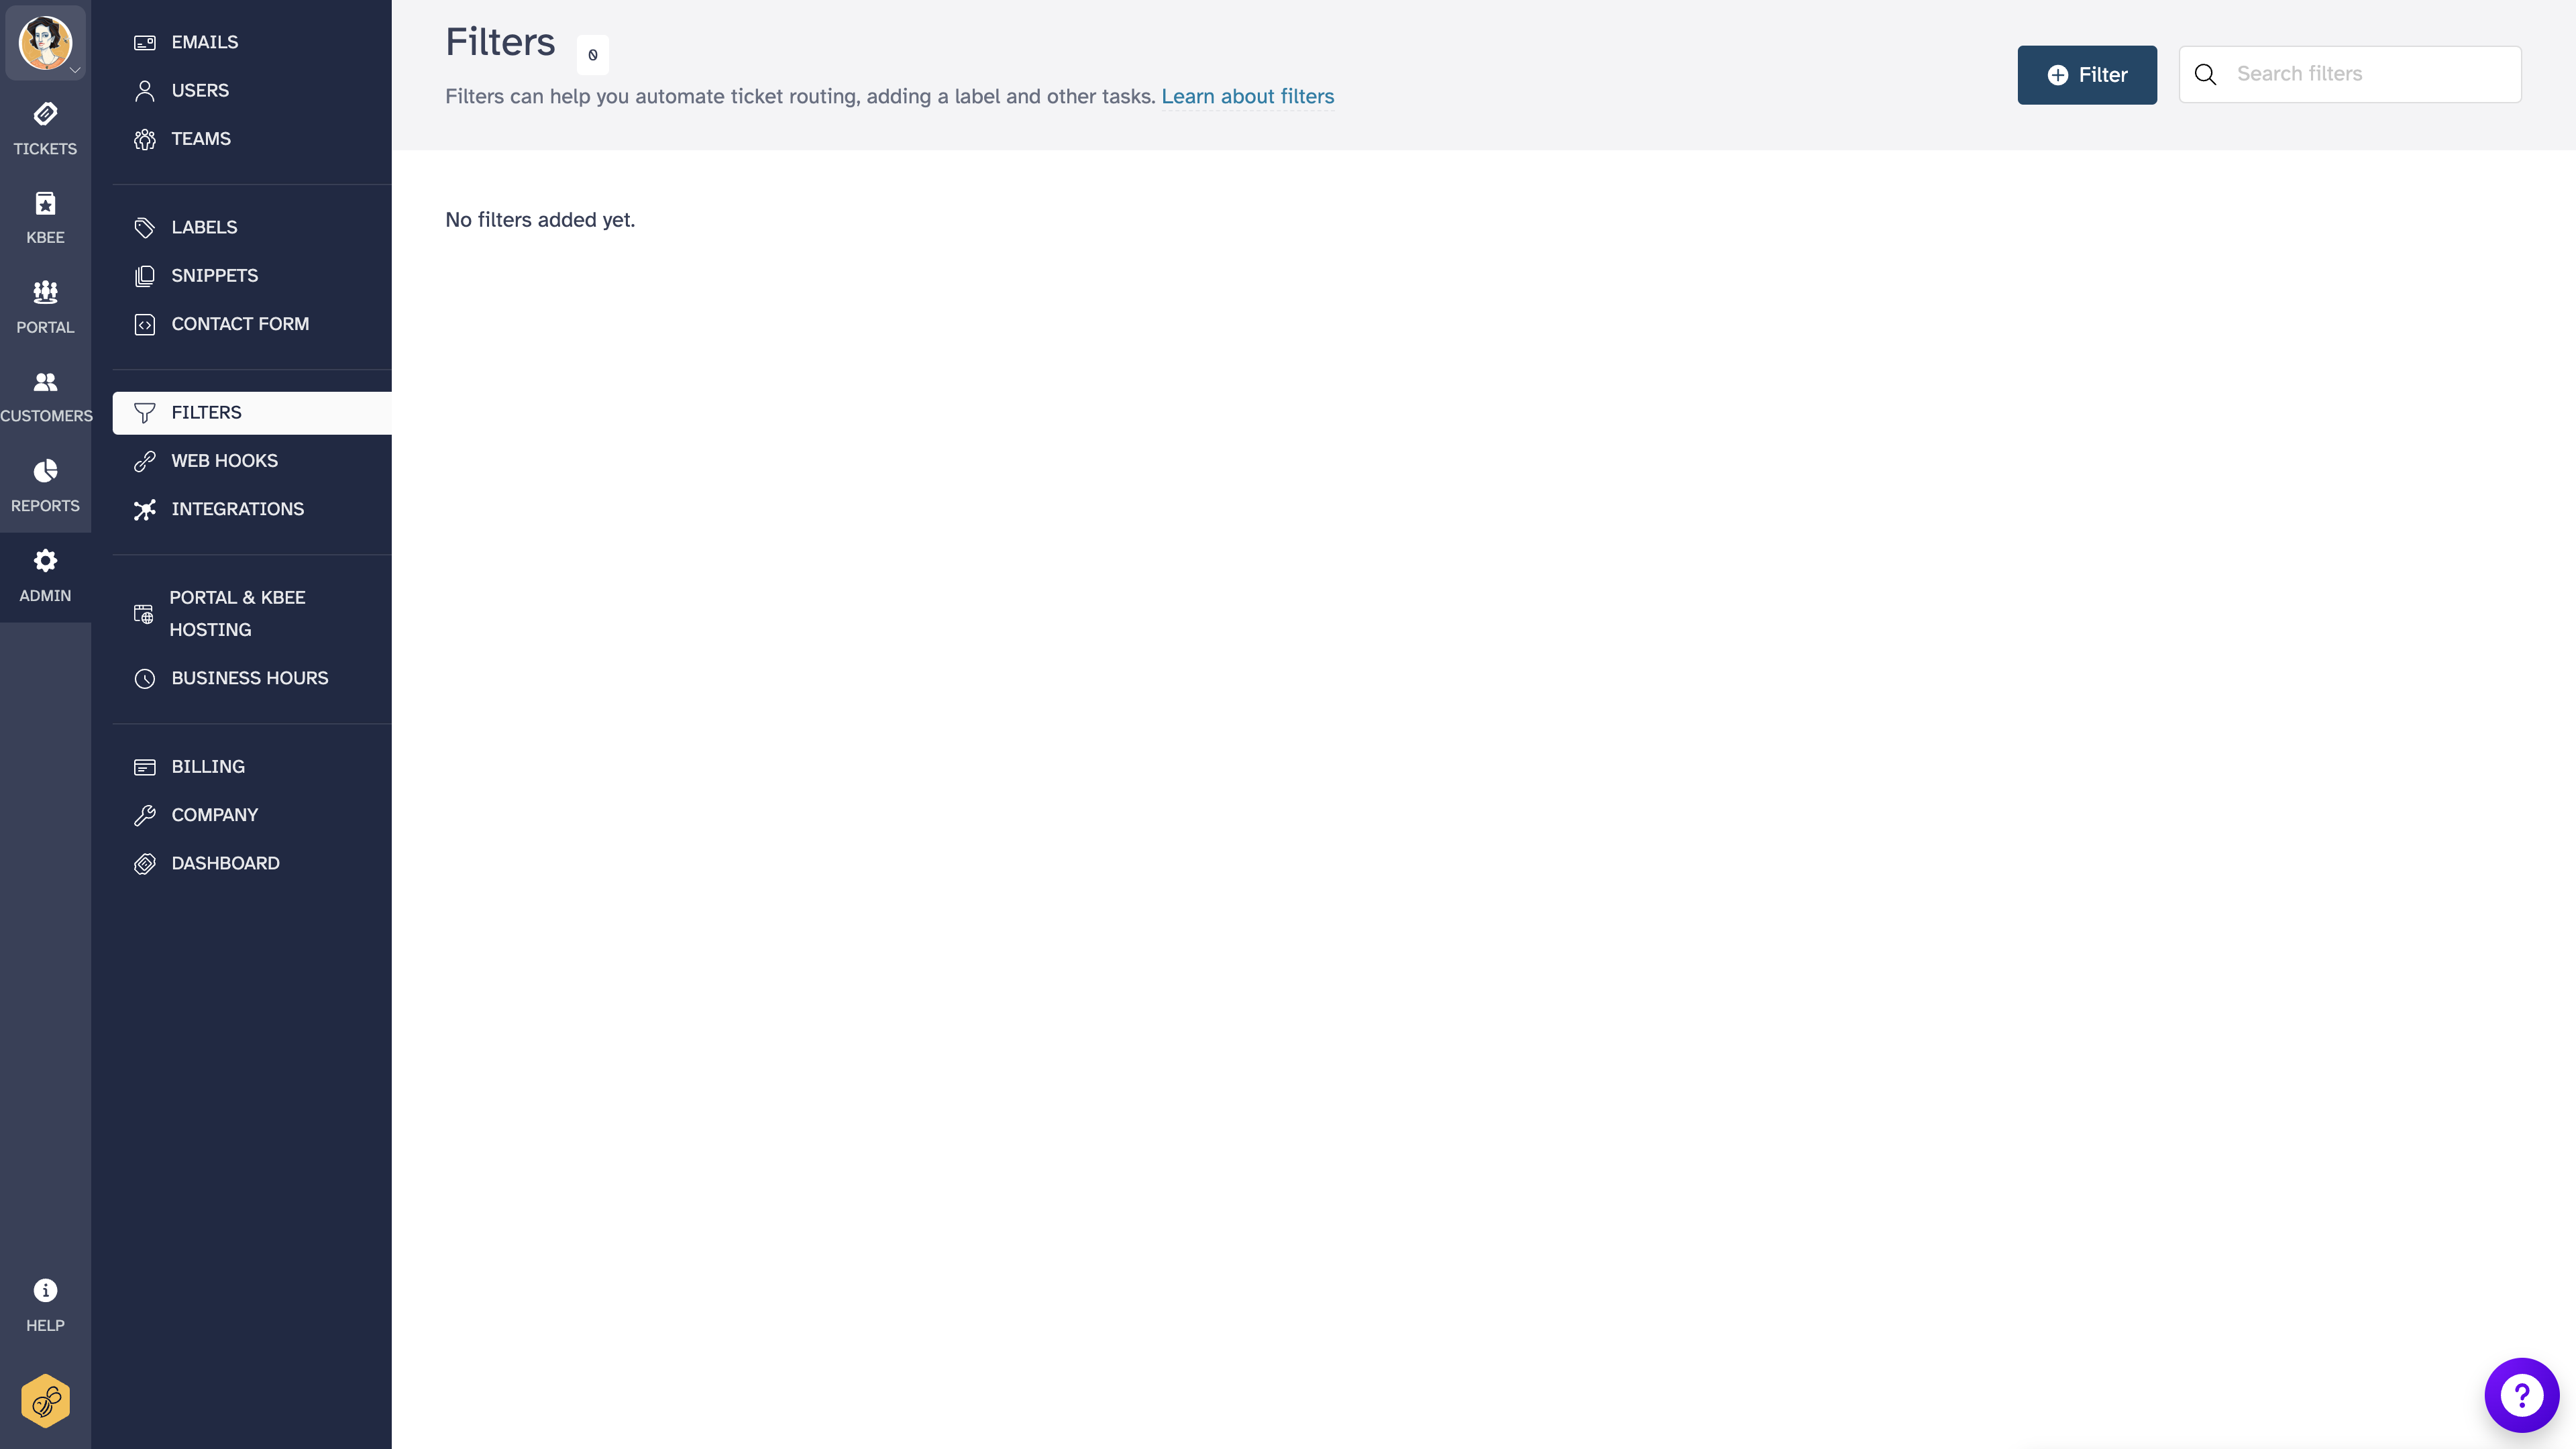
- Click 'Add New Filter'
- You can specify any (or all) four conditions. See the question below for details on different conditions
- Click 'Preview Matches' to see what tickets match.
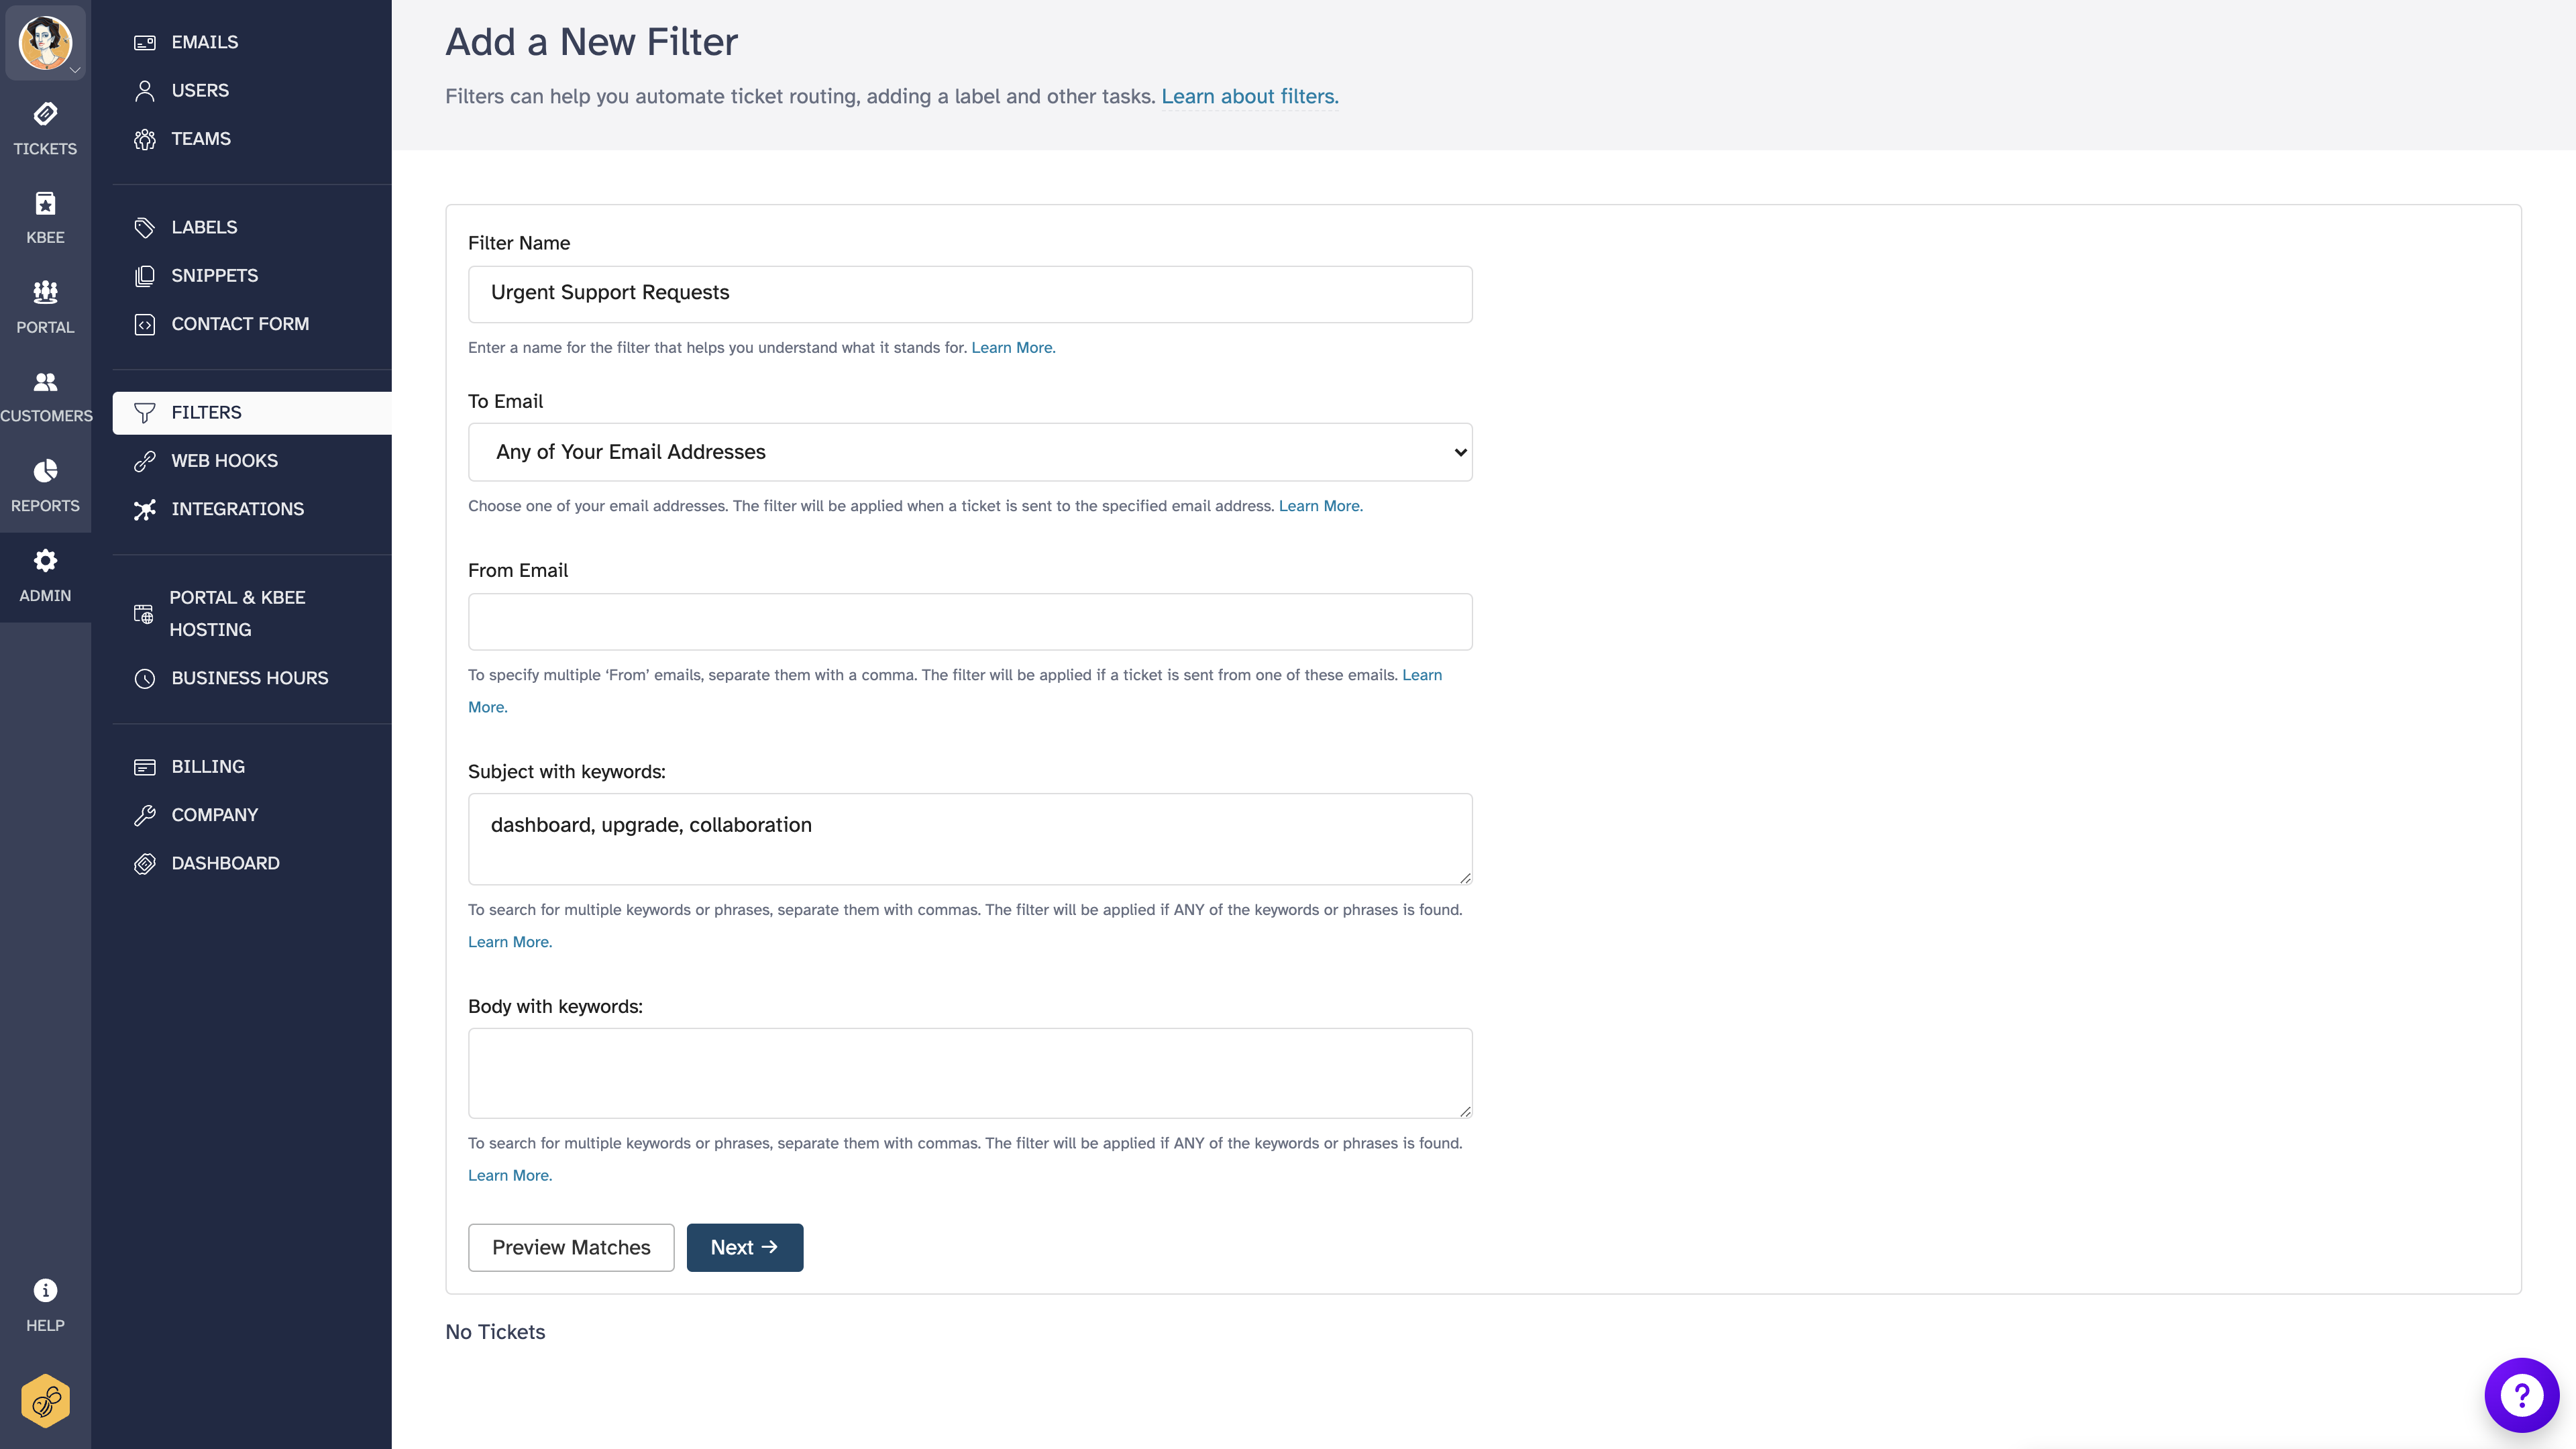
- Once you are happy with the conditions, click 'Next'
- Check the actions that you want to be performed on matching tickets after they are imported
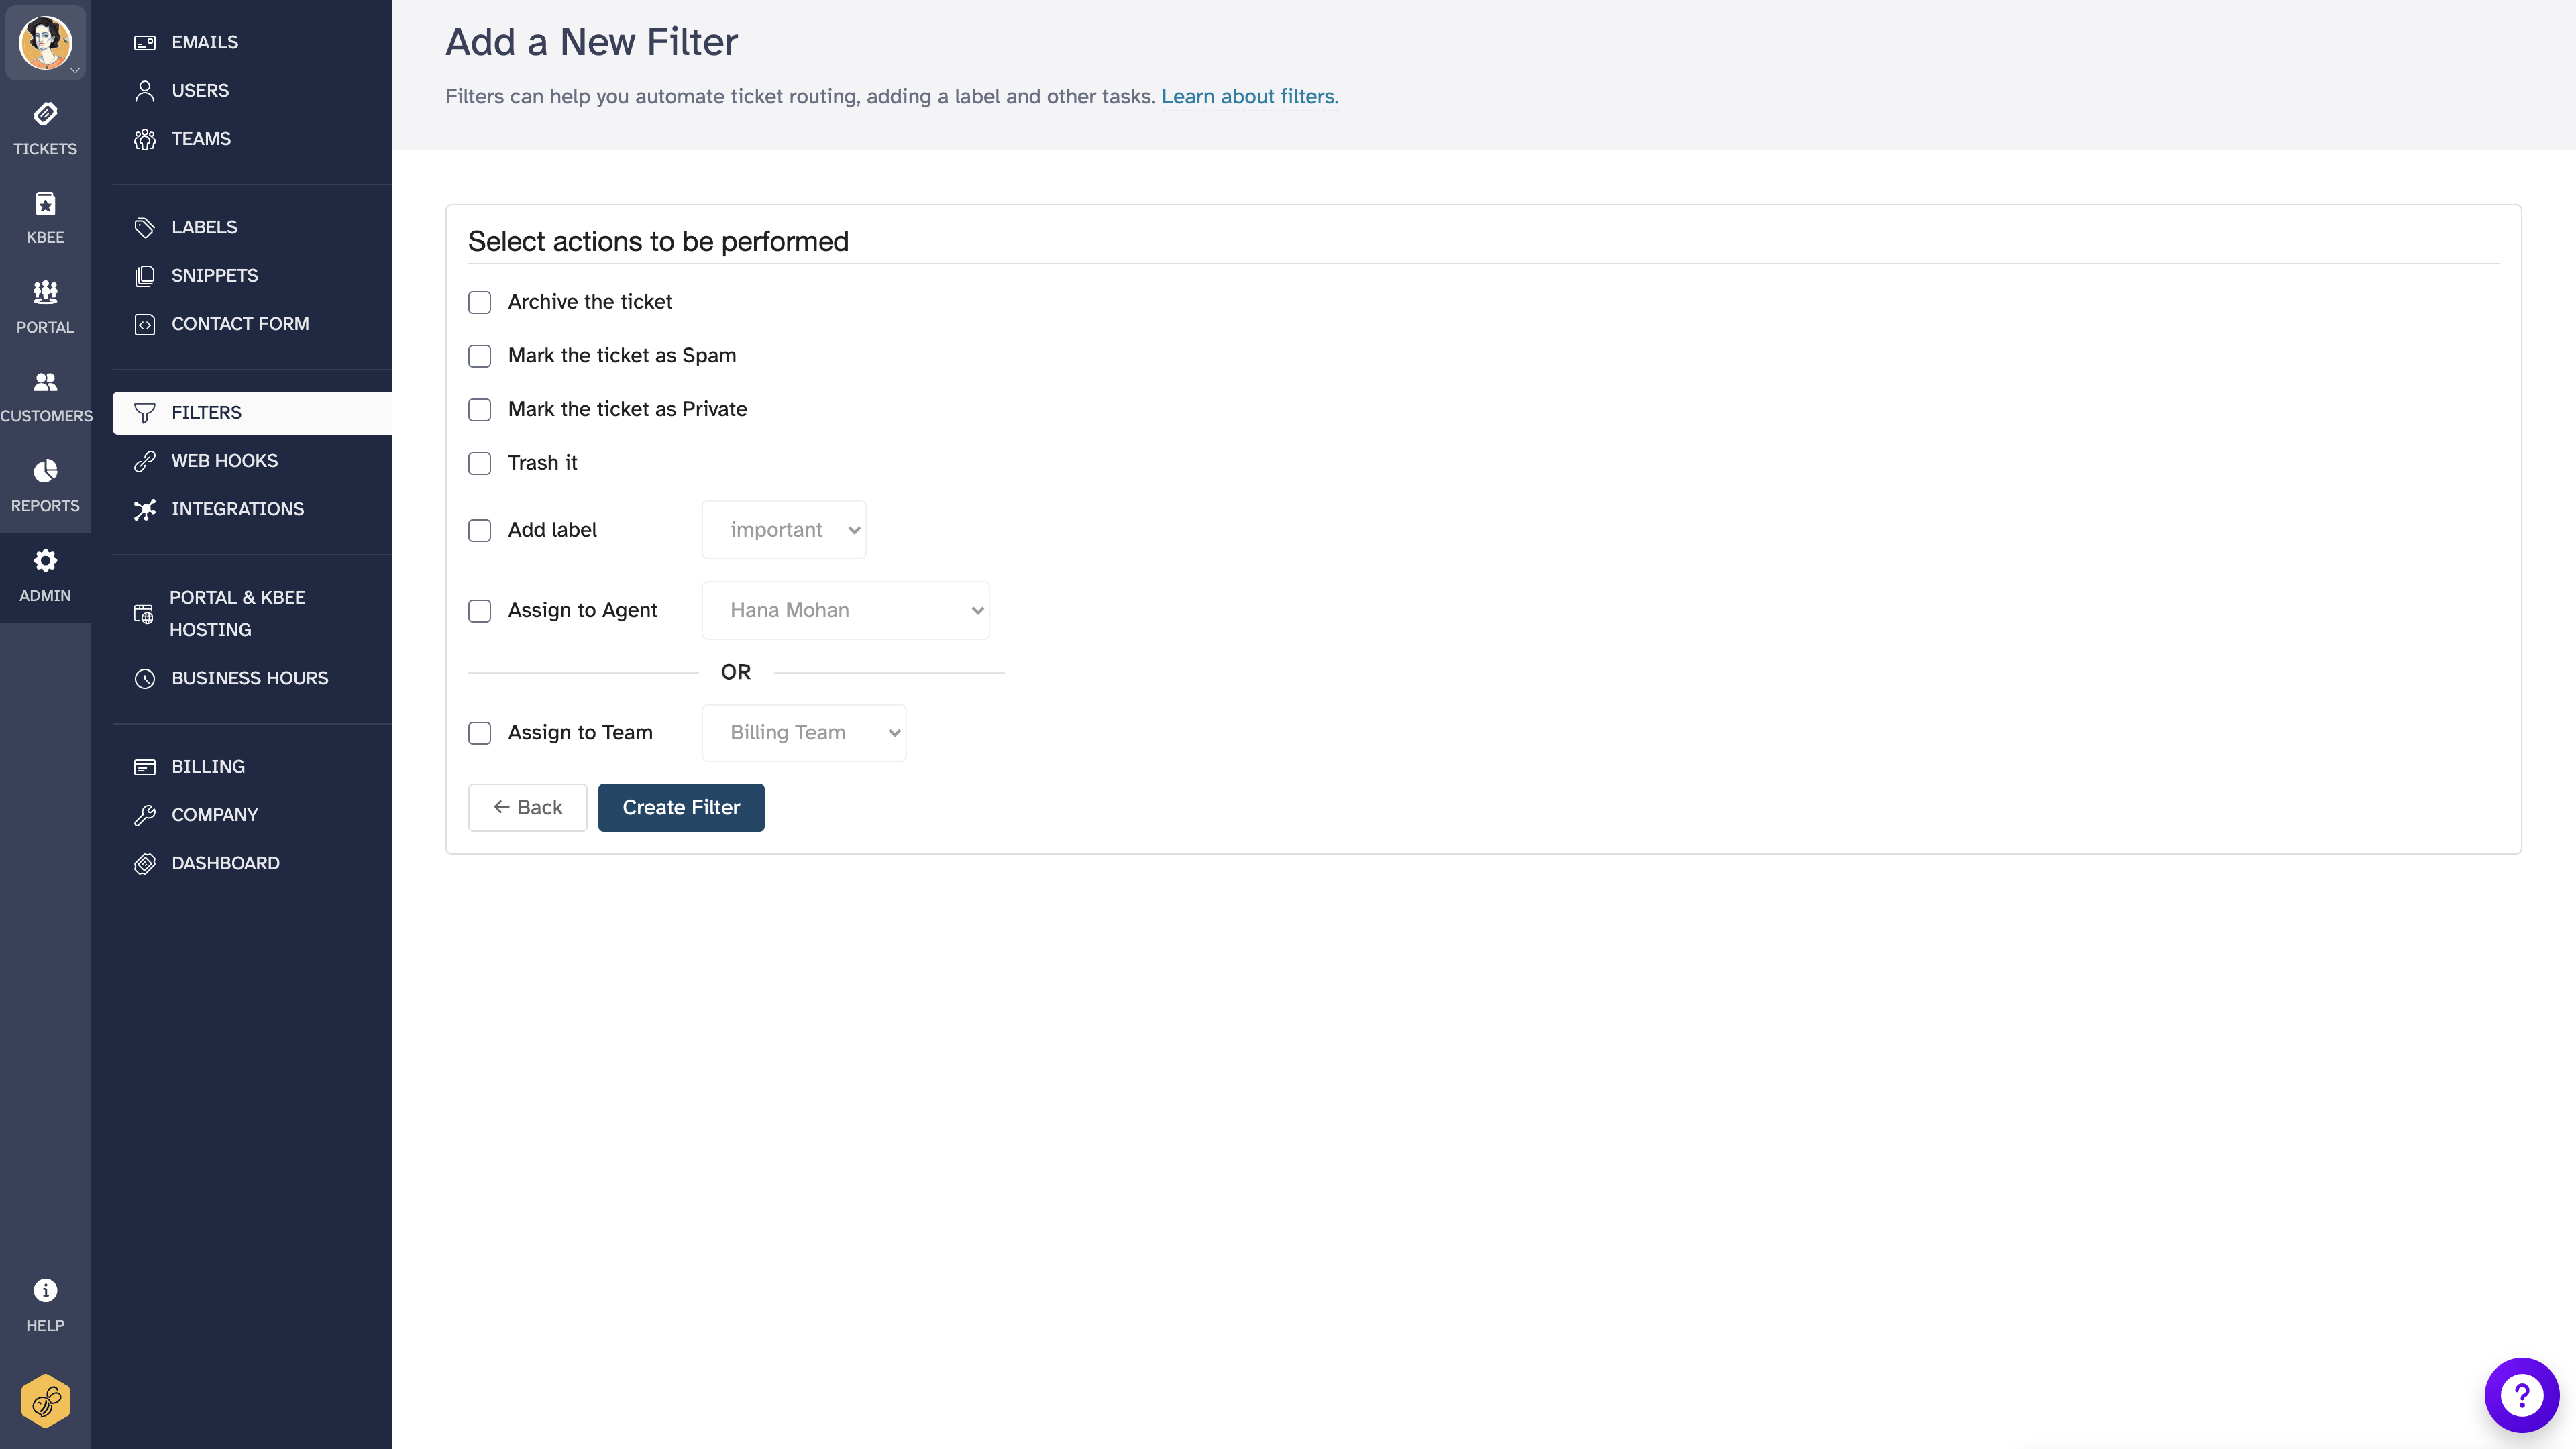
- Click 'Create Filter'
Your filter will be created and applied to every new ticket.
Filter conditions
- To Email Matches the address that the ticket was delivered to. If you are syncing from different inboxes, you can use this filter to route tickets to different groups or add a label based on the mailbox the ticket was delivered to.
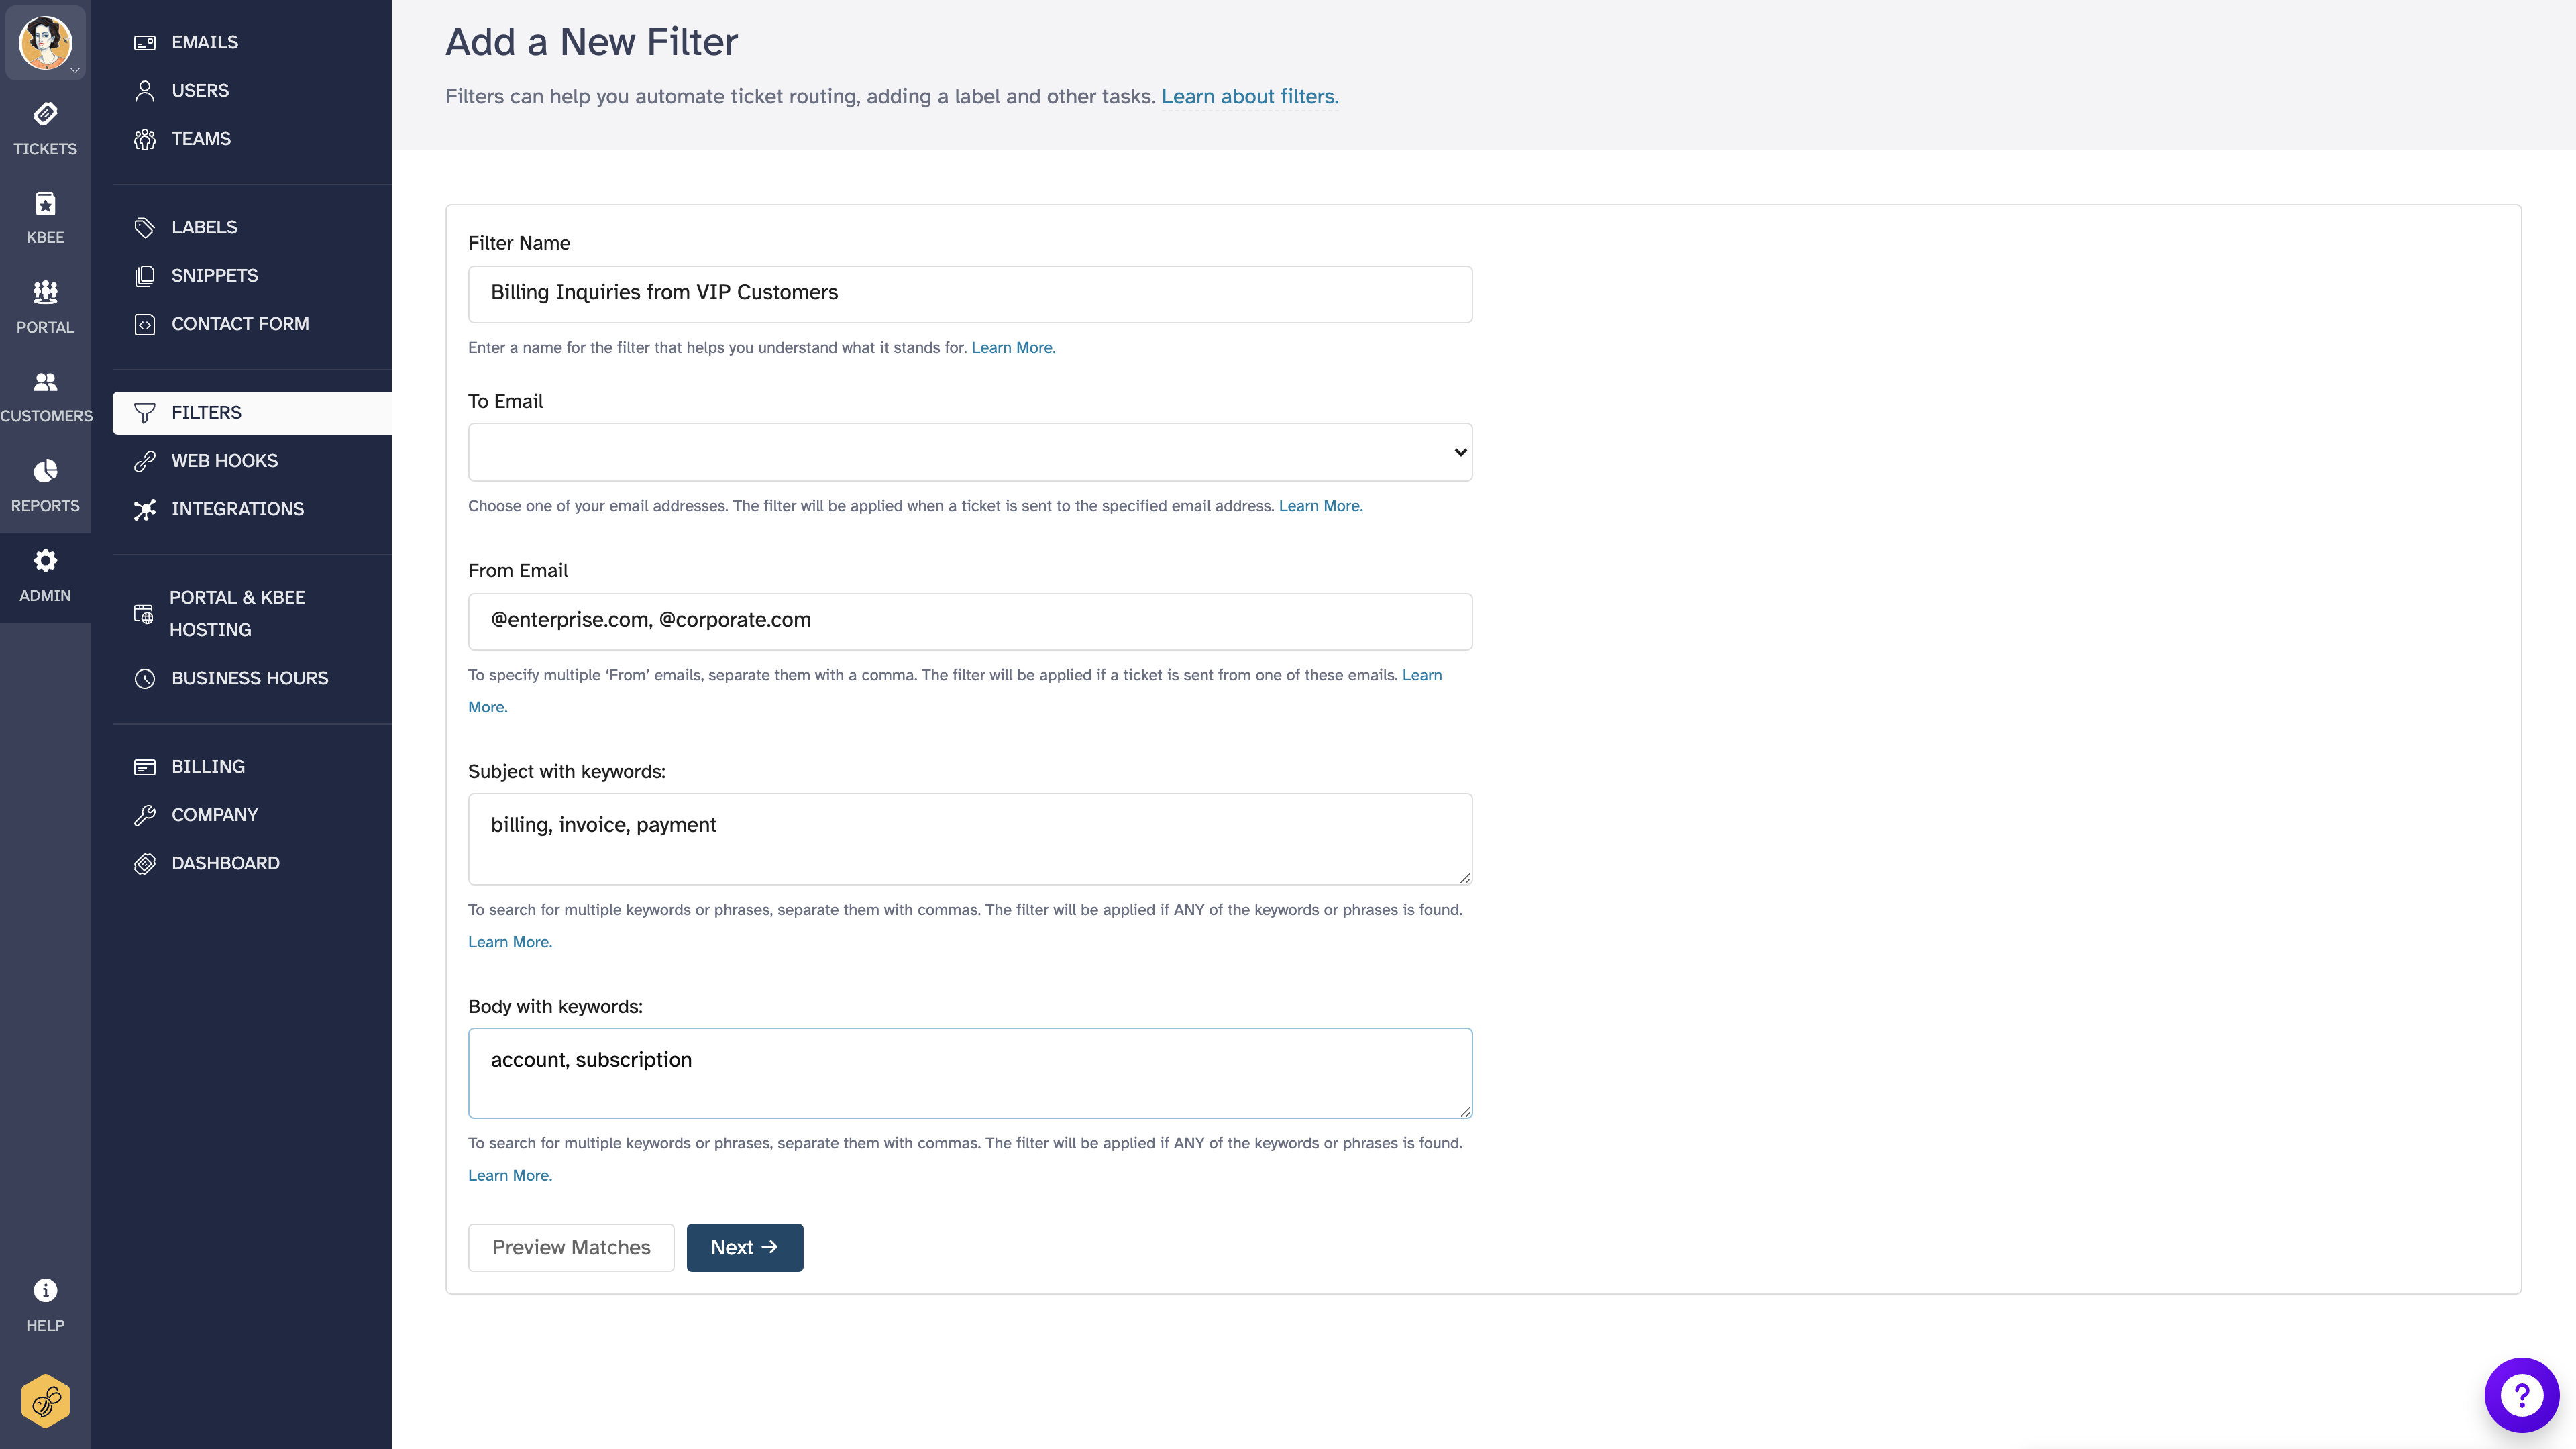
- From Email Matches the sender of the ticket. Enter the name or email address of a customer. You can use this to identify tickets from a particular customer.
- Subject with keywords Matches the subject. To search for multiple keywords or phrases, separate them with commas. The filter will be applied if ANY of the keywords or phrases is found. Please do not use quotes for phrases. Wrapping your phrases in double or single quotes can result in errors. Also, note that the matching is case insensitive.
- Body with keywords Matches the body. To search for multiple keywords or phrases, separate them with commas. The filter will be applied if ANY of the keywords or phrases is found. Please do not use quotes for phrases. Wrapping your phrases in double or single quotes can result in errors. Also, note that the matching is case insensitive.
If you fill in more than one condition, all of the conditions will have to match for the filter to be applied.
Using wildcards
You can use the * wildcard in any of the conditions.
For example, the value *@importantclient.com in the condition From will match any email address from the importantclient.com domain. On the other hand, test* in the condition Subject will match tickets that include in the subject any of the words: "test", "testing", "tested", "testimony", and so on.
Filter limits
You can create as many filters as you want. However, there are a few points to remember:
- Applying the filters introduces a small delay in importing tickets. The more filters you have, the longer the delay.
- More than one filter may match for a given ticket. In case you have conflicting actions (like Assigning to a certain user in one and a different user in the other), only one will be performed. However, if you are adding different labels in both actions, both labels will be added.
Troubleshooting filters
False positives
If a filter is matching tickets it should not, check the following:
- Keyword conditions are broad - A keyword like "test" will match "test", "testing", "testimony", and any other word containing "test". Use more specific keywords or combine multiple conditions to narrow the match
- Multiple conditions are AND-based - All conditions must match for the filter to apply. If you only have one condition, it may be too broad. Add a second condition to narrow the scope
- Preview before saving - Always use the 'Preview Matches' button when creating or editing a filter to see which existing tickets would match
Filters not matching expected tickets
If a filter is not catching tickets it should:
- Check spelling and formatting - Keywords are case insensitive, but typos will prevent matches. Do not wrap keywords in quotes
- Check the condition type - Make sure you are matching the right field (Subject vs Body vs From vs To)
- Filters only apply to new tickets - Filters run when a ticket is first imported. They do not retroactively apply to existing tickets
Common filter recipes
Block spam from a specific domain
Create a filter with From Email set to *@spamdomain.com and set the action to Mark as Spam or Move to Trash.
Route tickets by department
Create a filter with To Email set to [email protected] and set the action to Assign to Team with your billing team selected. Repeat for each department email address.
Flag urgent tickets
Create a filter with Subject with keywords set to urgent, downtime, outage and set the action to Add Label with a label like "urgent."
Deleting a filter
After you login as an admin,
- Click on Admin link in the top right corner of the screen
- Select the Filters tab
- In the listing, find the filter that you want and click 'Delete'