Automate Gmail Attachment Downloads with Apps Script

If your email is hosted on Google, you can easily use Google Apps Script to automate tasks like mass downloading image attachments. Even if you’re not a developer, it’s a simple process: just copy and paste the provided script.
Start by logging into the Google Account associated with the email you want to use for this task. Once logged in, you can quickly set up the script to download image attachments from your Gmail. Follow the guide at Google Apps Script to get started—it’s user-friendly, even for beginners!
The easiest is if you Login with the Google Account you would like to use to Mass Download the Image Attachments.
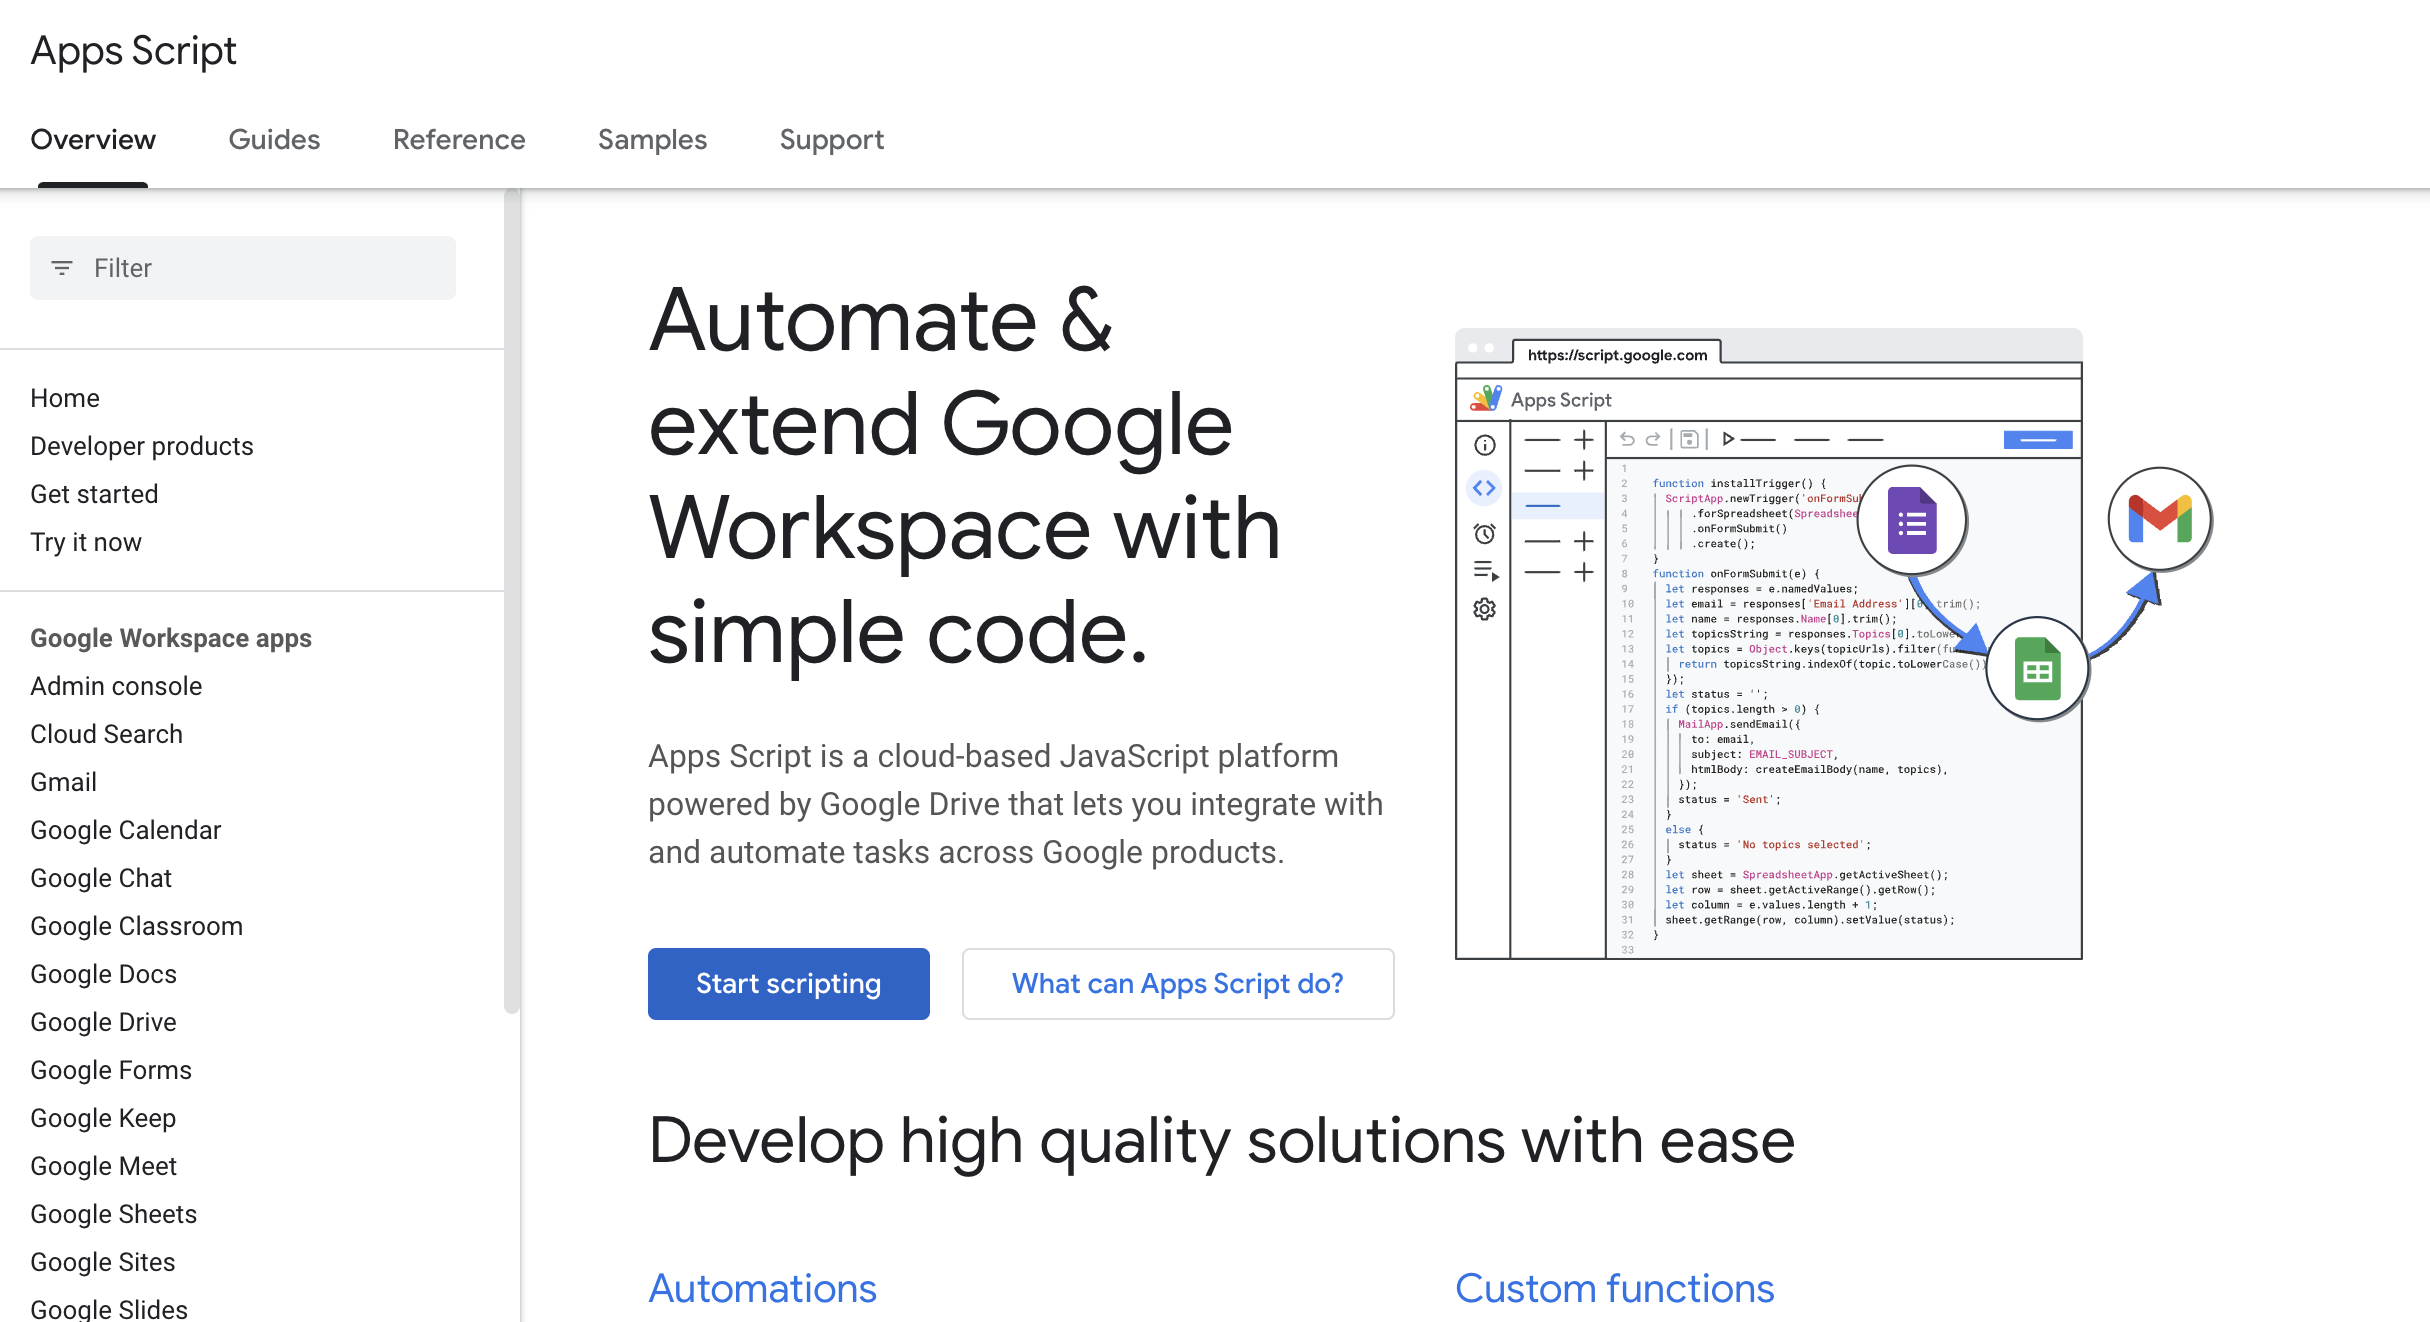
Click Start Scripting
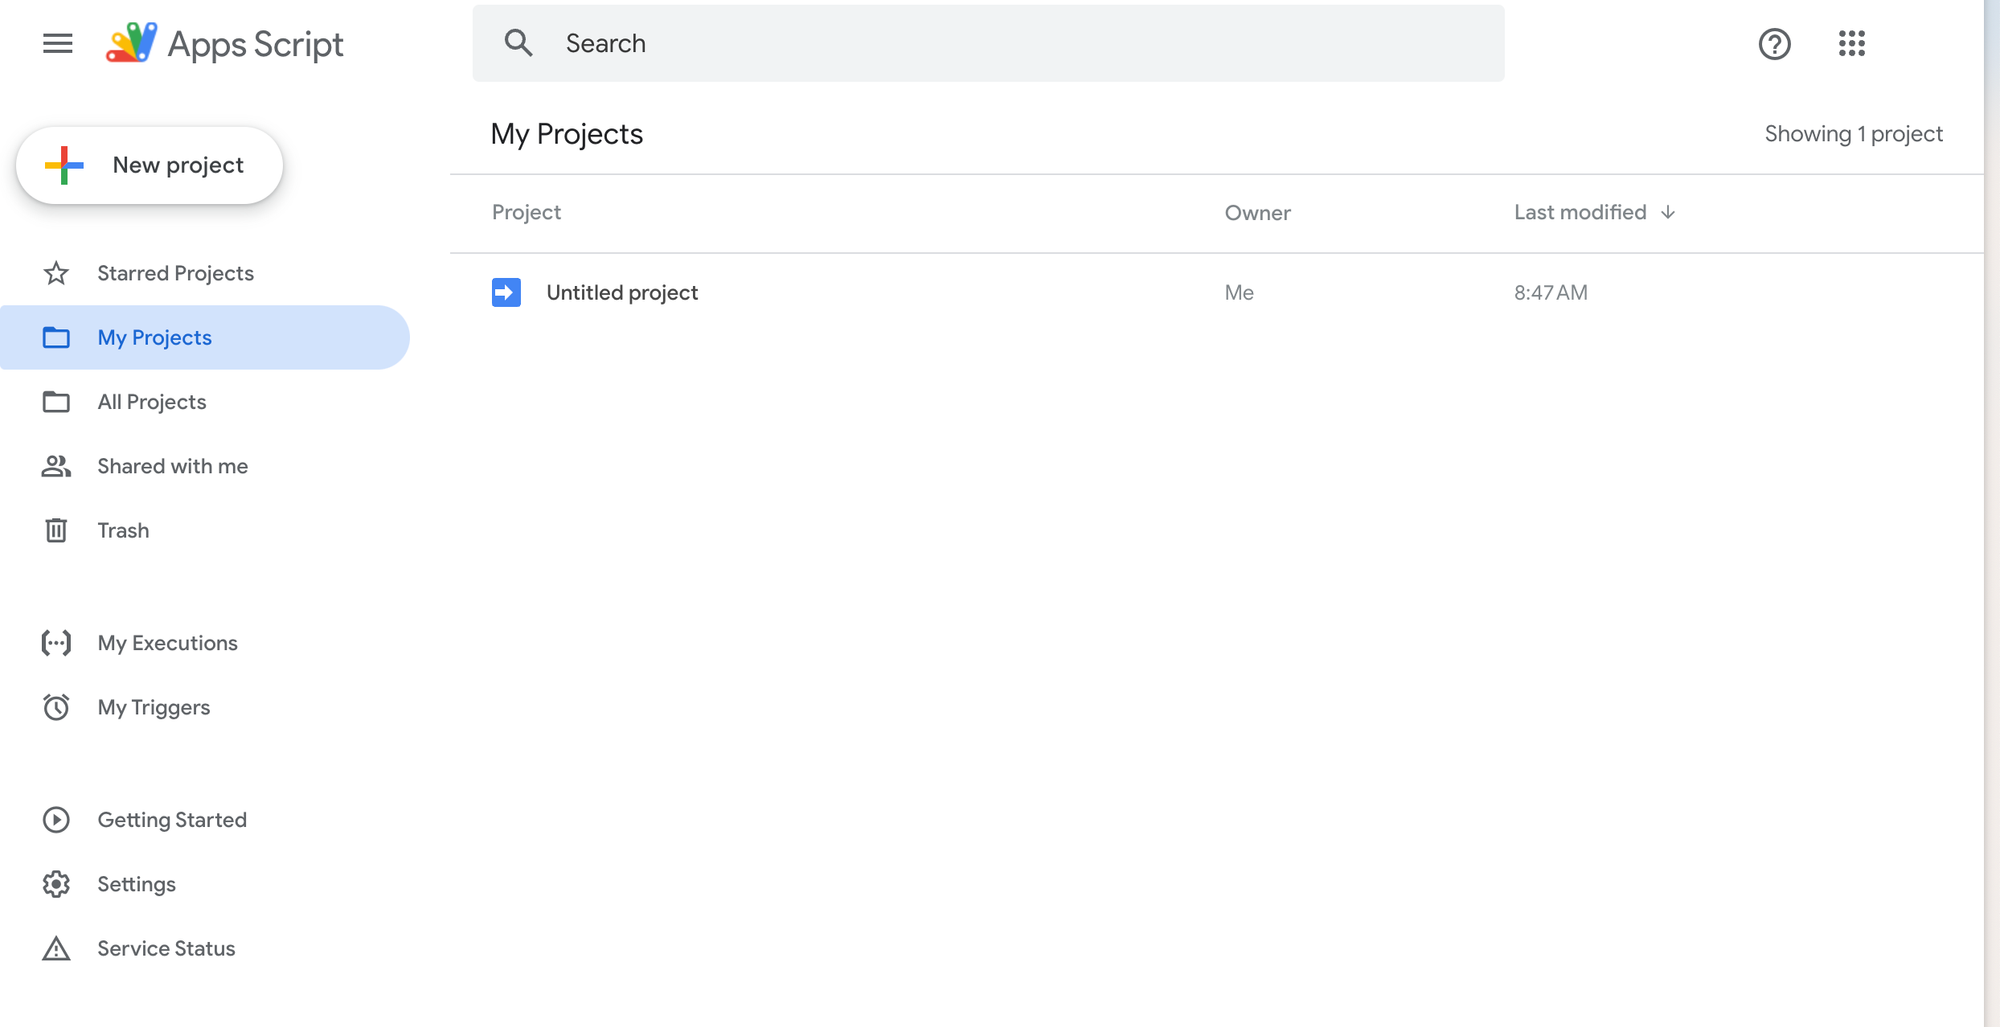
A New tab will open. Create a New project.
Name the Project
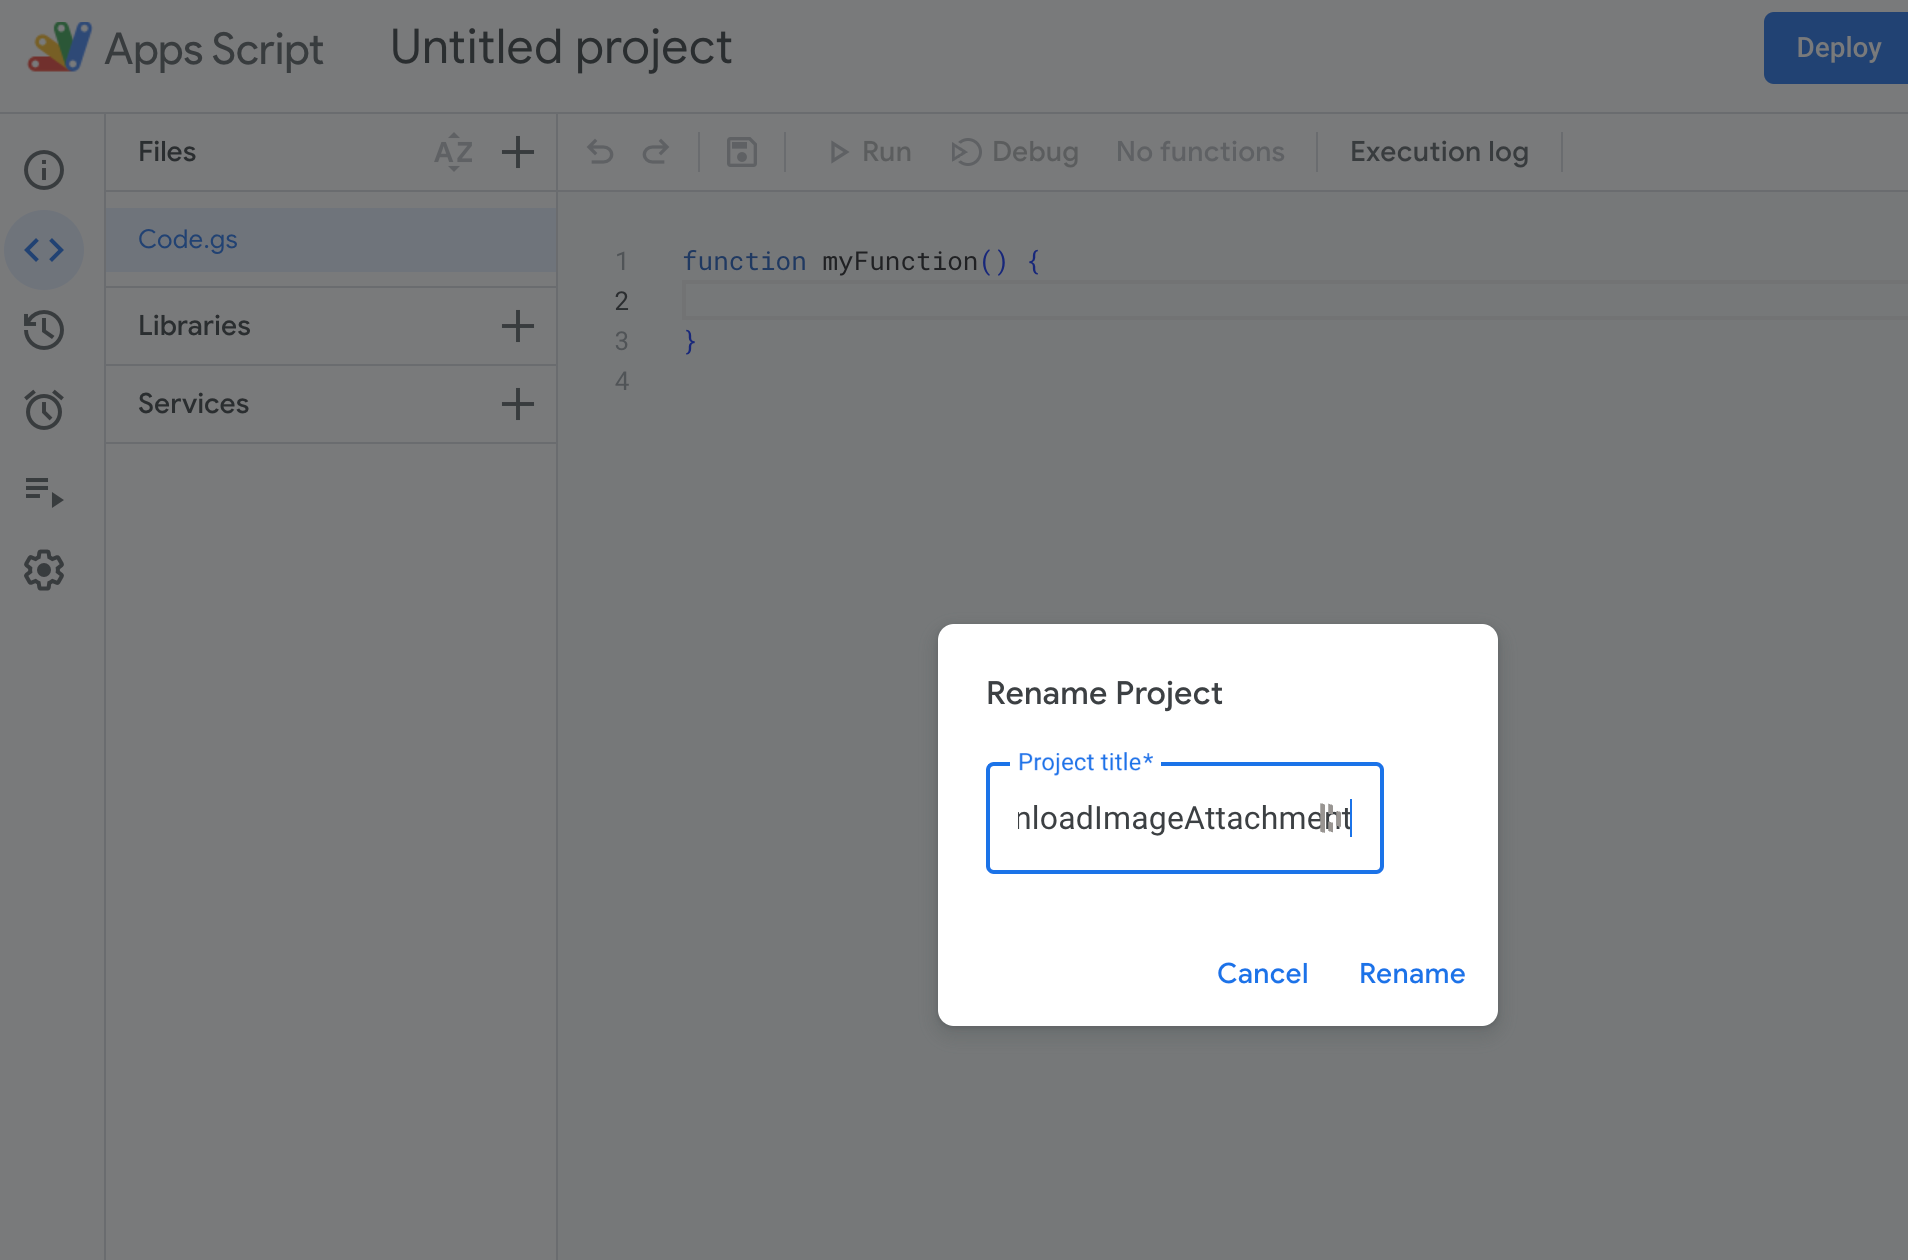
Replace the prewritten text completely with your own code:
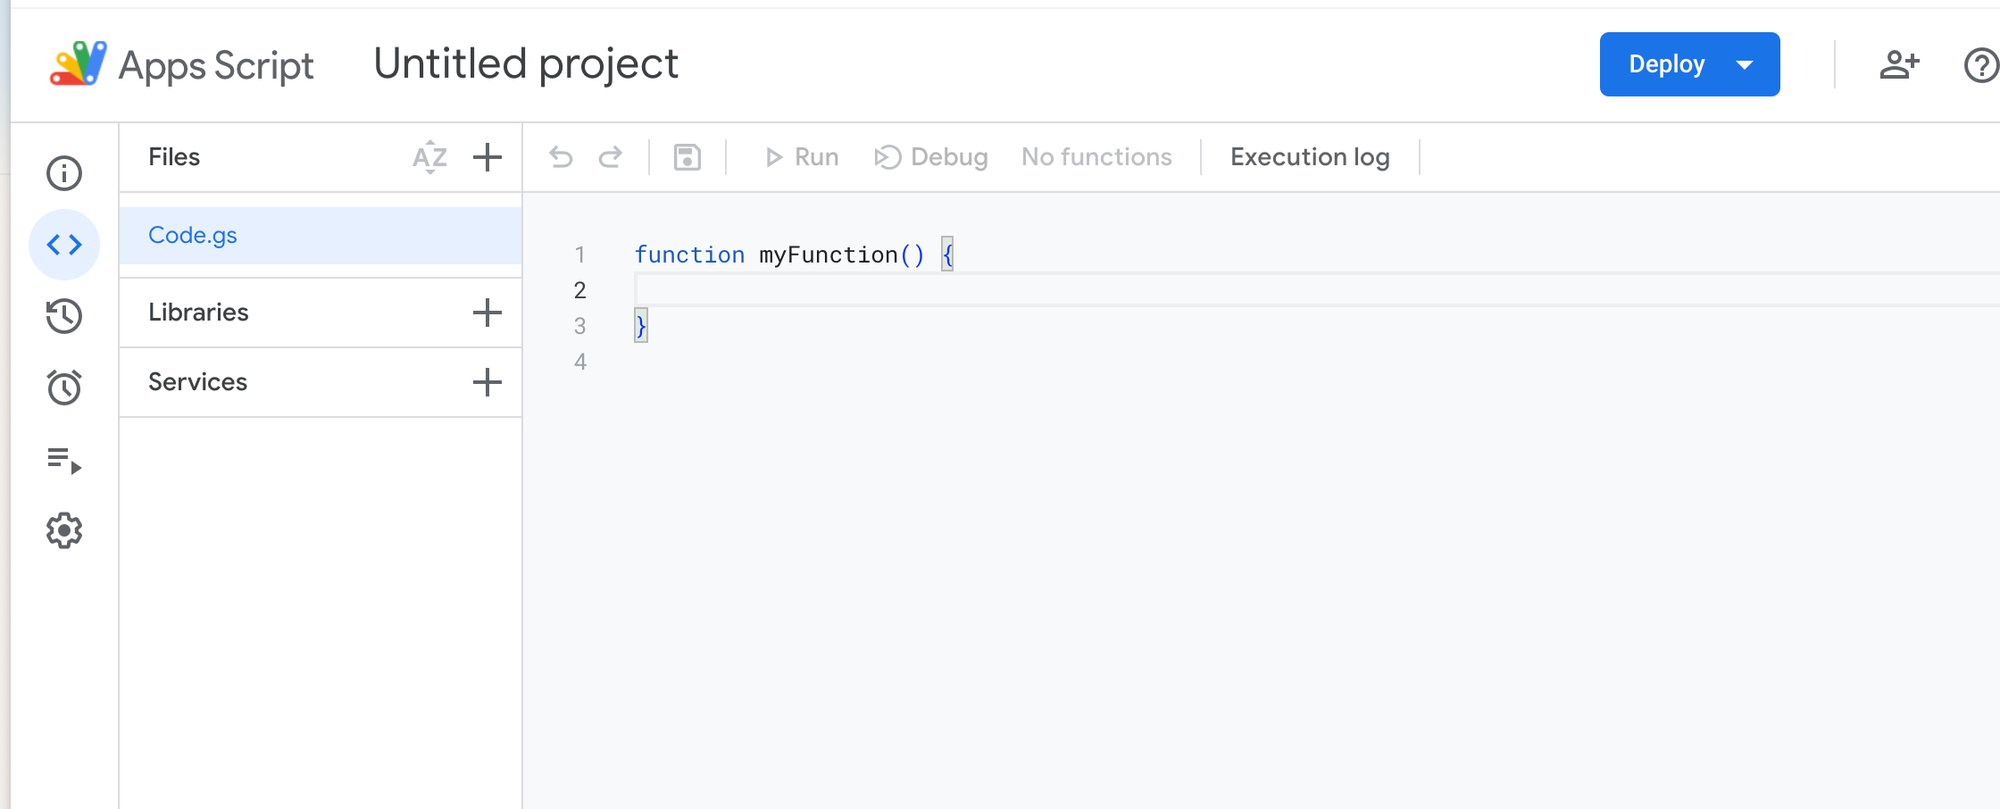
Use this code.
function downloadEmailAttachments() {
  var searchQuery =
    'has:attachment from:**[email protected]** after:**2021/09/01 before:2023/10/01**'; // Customize search query
  var threads = GmailApp.search(searchQuery); // Search emails
  var folder = DriveApp.getFolderById('**1YyRATvAu0Ed-wzWUPbJJj5TAVOxeEWbB**'); // Replace with your Google Drive folder ID

  for (var i = 0; i < threads.length; i++) {
    var messages = threads[i].getMessages();
    for (var j = 0; j < messages.length; j++) {
      var attachments = messages[j].getAttachments();
      for (var k = 0; k < attachments.length; k++) {
        var attachment = attachments[k];
        // Check if the attachment is an image
        if (attachment.getContentType().startsWith('image/')) {
          folder.createFile(attachment); // Save the image to Google Drive
        }
      }
    }
  }
}
Replace the sample email address in the script with your own, and adjust the date range to match the emails you want to filter.
In your Google Drive, create a new folder called EmailAttachments. Once created, open the folder and copy the folder ID from the URL. This is the string of letters and numbers that appears after folders/ in the URL.
For example: drive.google.com/drive/u/0/folders/1YyRATvAu0Dd-wzWUPbJJj5TAWOxeEWbB
In the script, replace the getFolderById('1YyRATvAu0DdwzWUPbJJj5TAWOxeEWbB') part with your own folder ID.
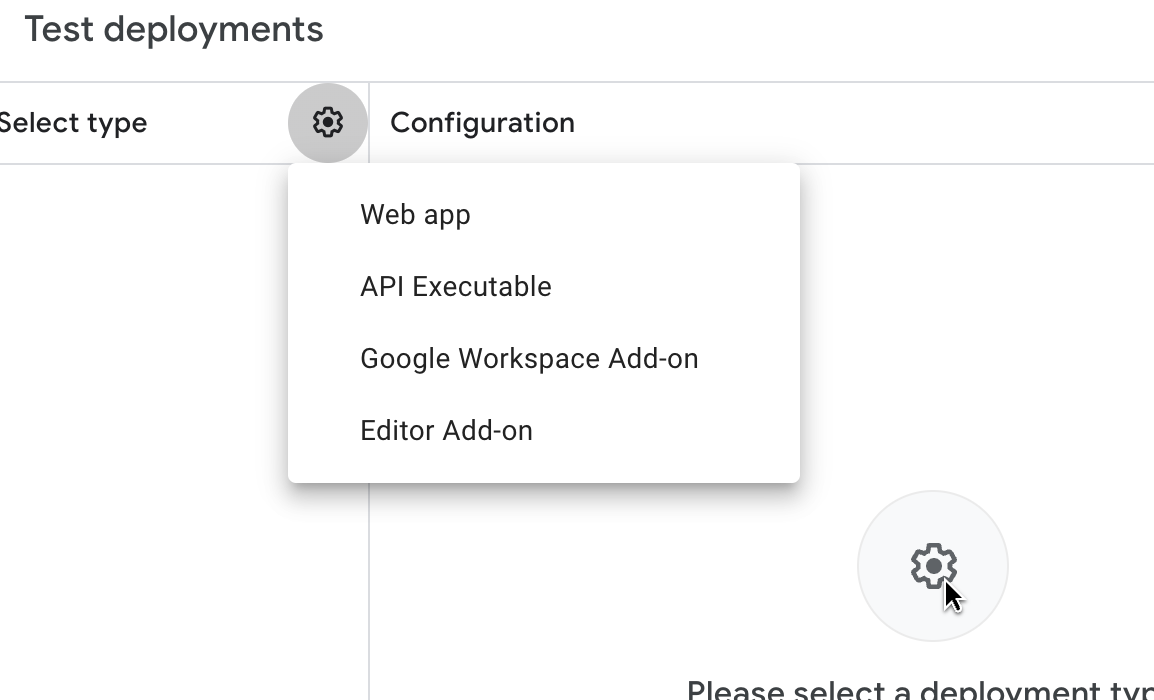
Finally, click on Deploy, select New Deployment, and under the settings (gear icon), choose Web App to deploy the script.
Write a description for your app explaining its purpose, such as “Automates the download of Gmail attachments to Google Drive.”
Next, under Execute as, choose “User accessing the web app” to ensure the script runs on behalf of the user.
Finally, under Who has access, select “Anyone with Google Account” to allow anyone with a Google Account to use the web app. Once these settings are in place, complete the deployment process.
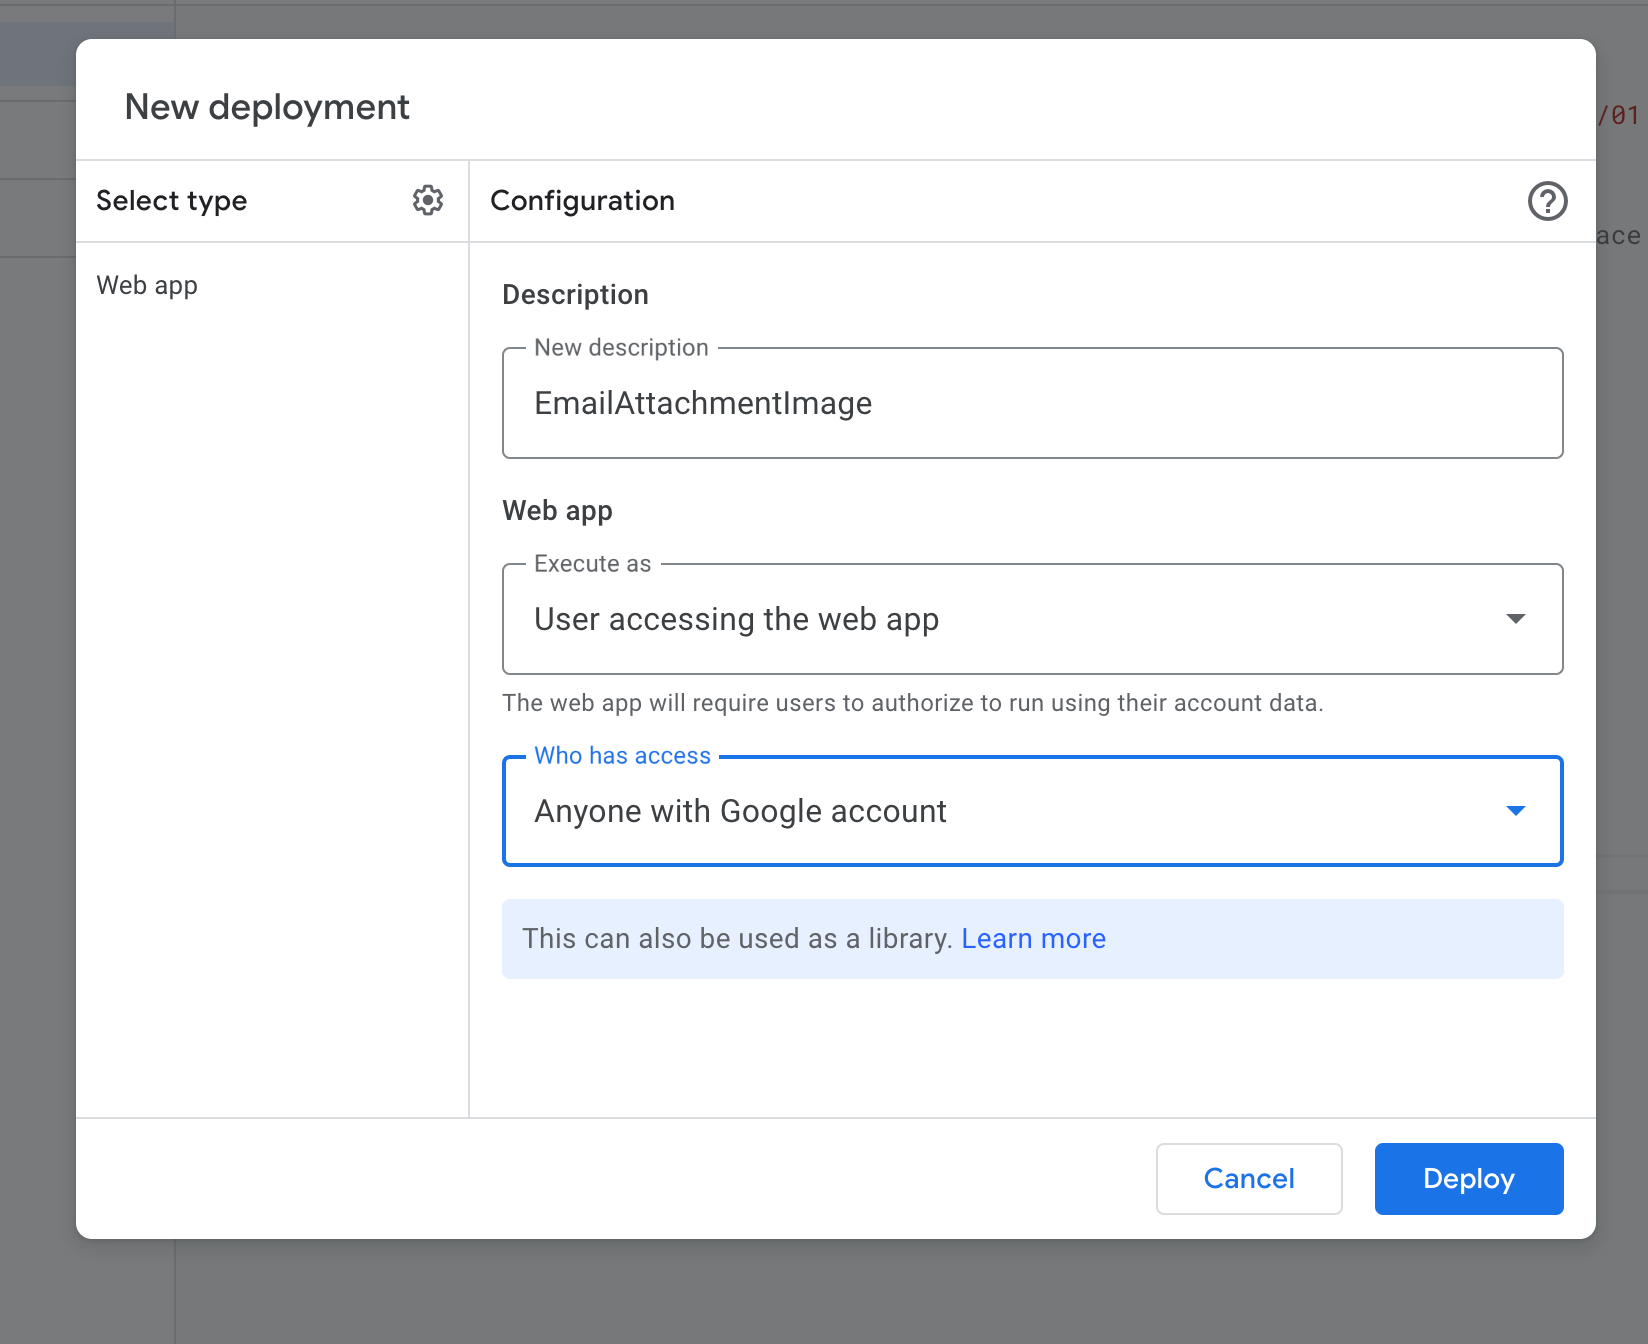
Click Deploy
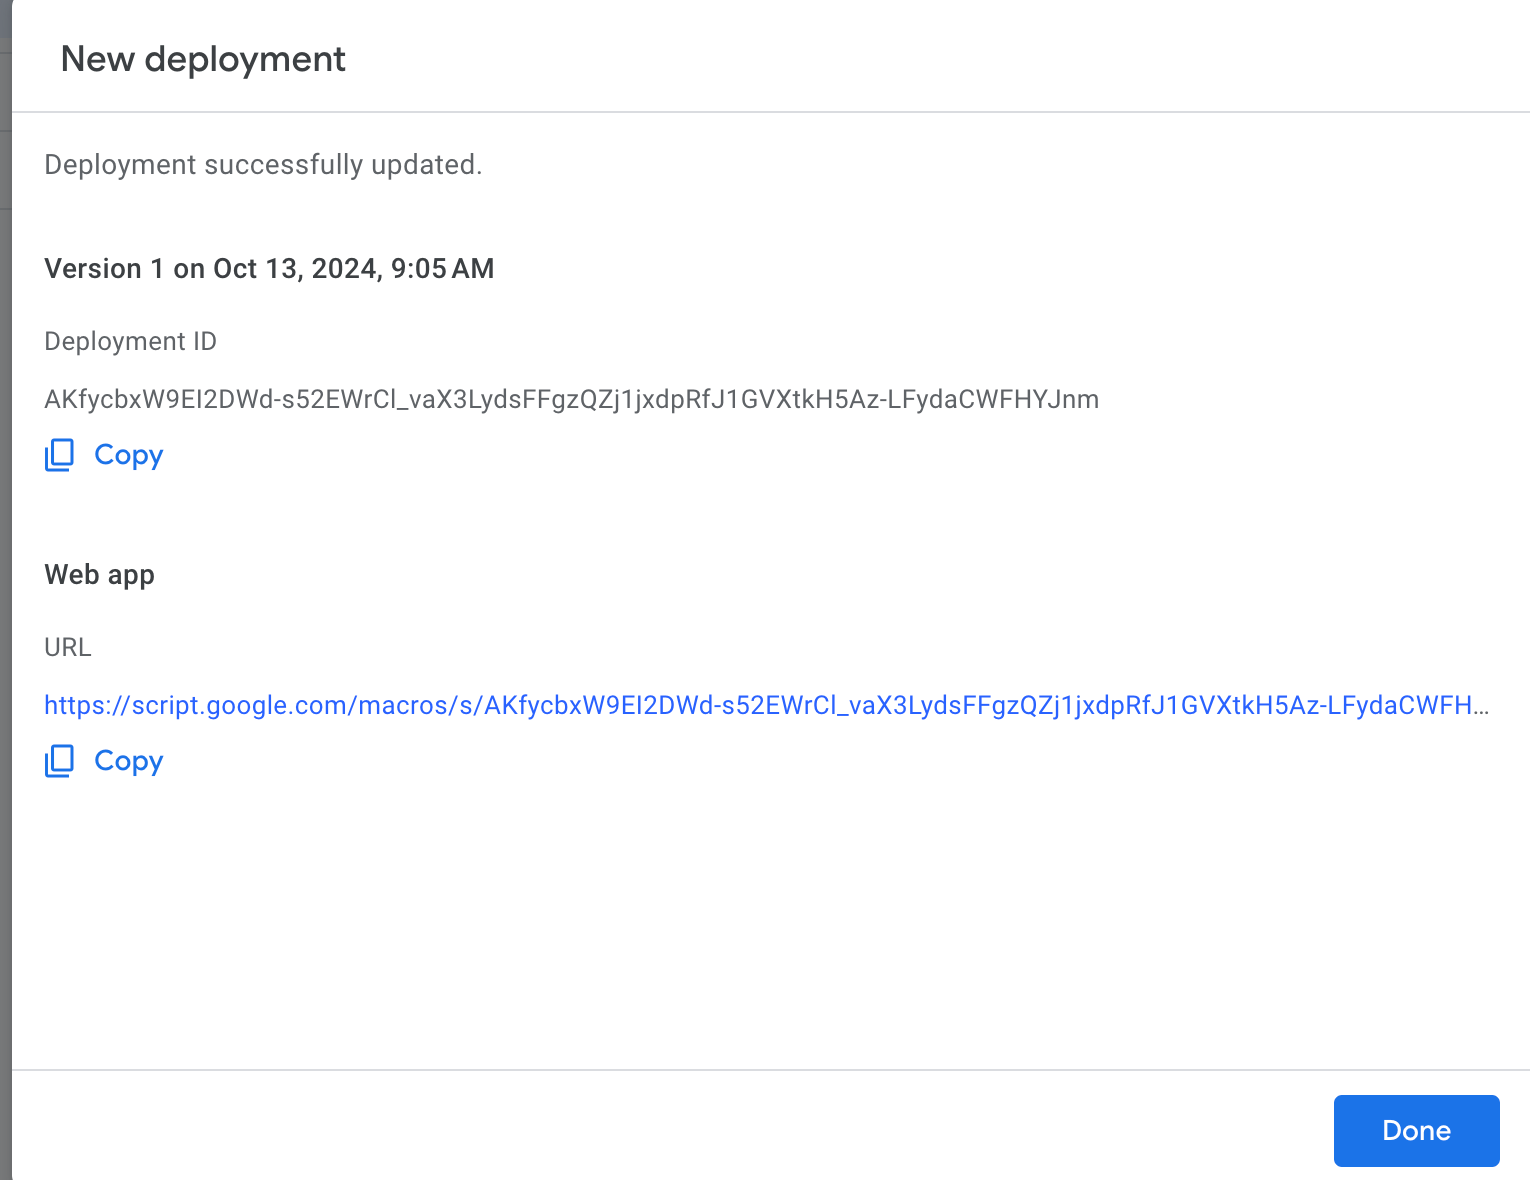
Click Done
Click Run
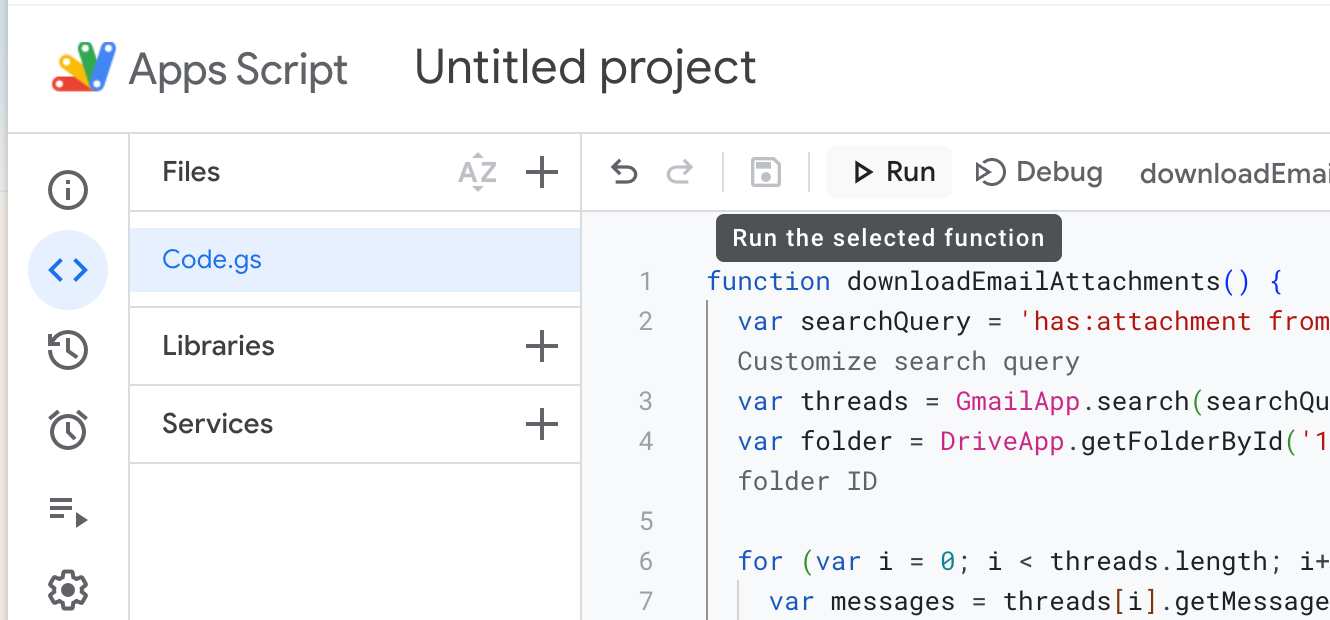
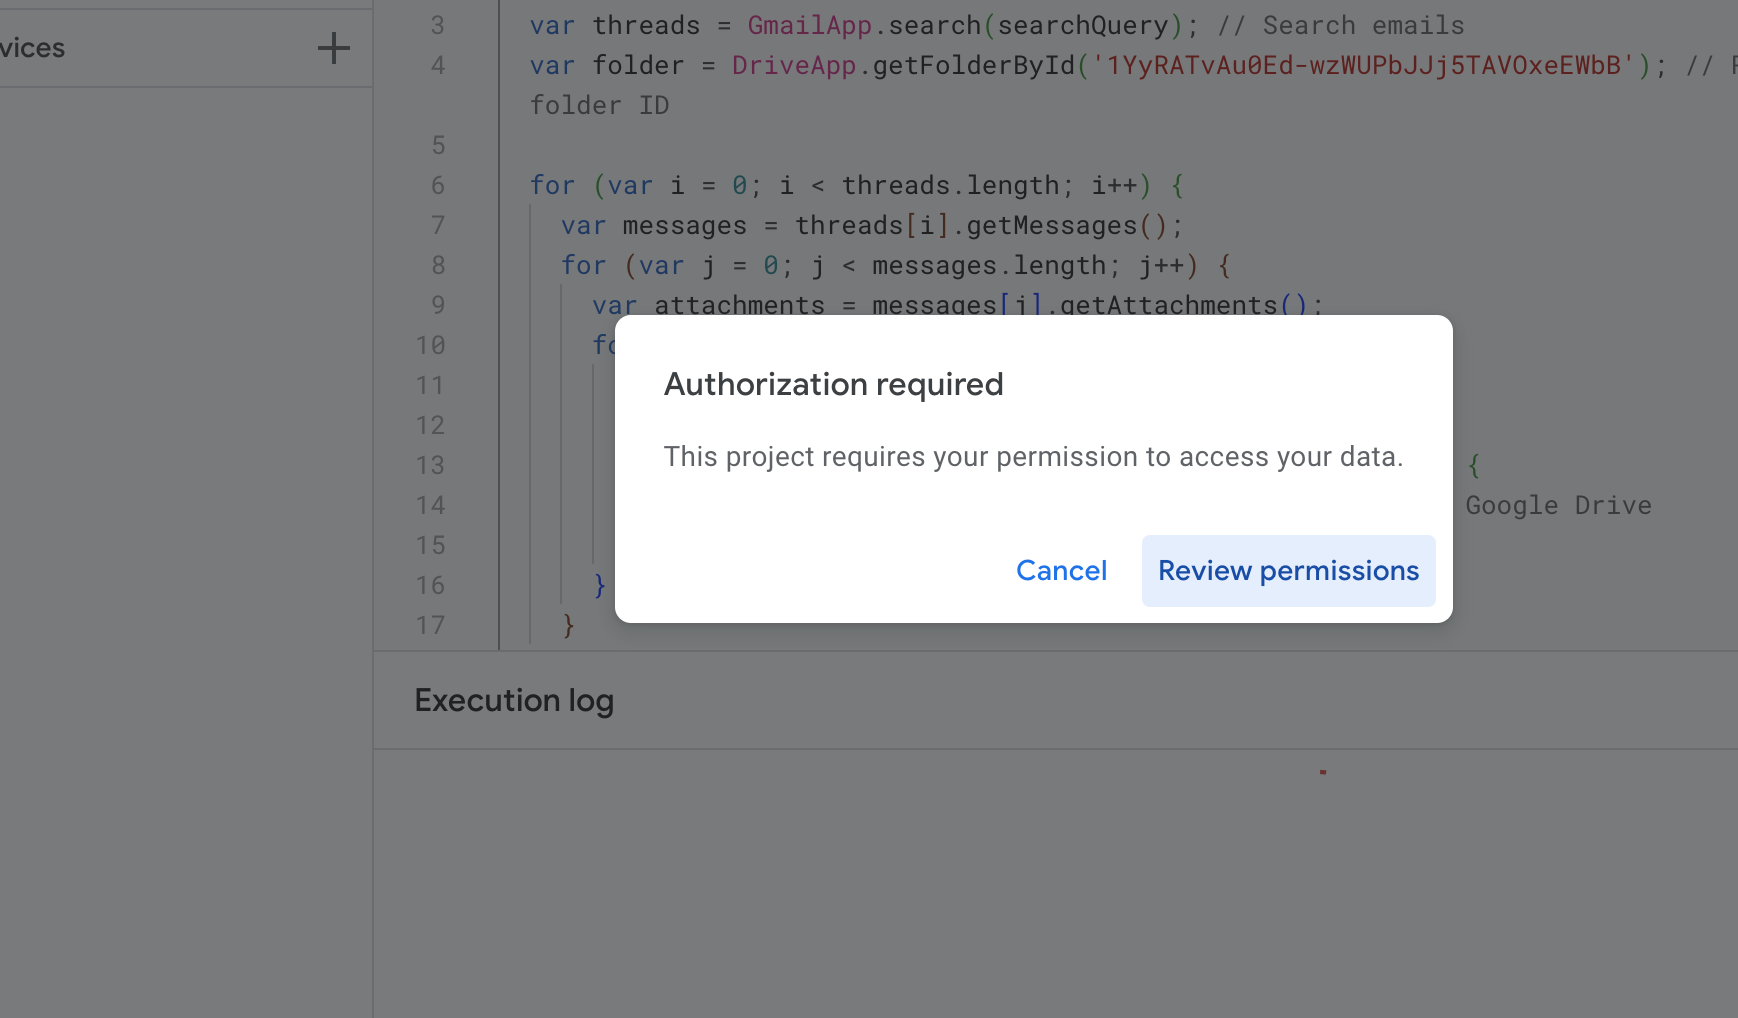
Review Permissions and in the PopUp choose your account
Since you created the script yourself, Google may display a warning message about the app being unverified. To proceed safely:
1. Click on “Advanced” in the warning dialog.
2. Select “Go to ‘your project’ (unsafe)” to bypass the warning.
3. On the next screen, click Allow to grant the necessary permissions for the script to access your Gmail and Google Drive.
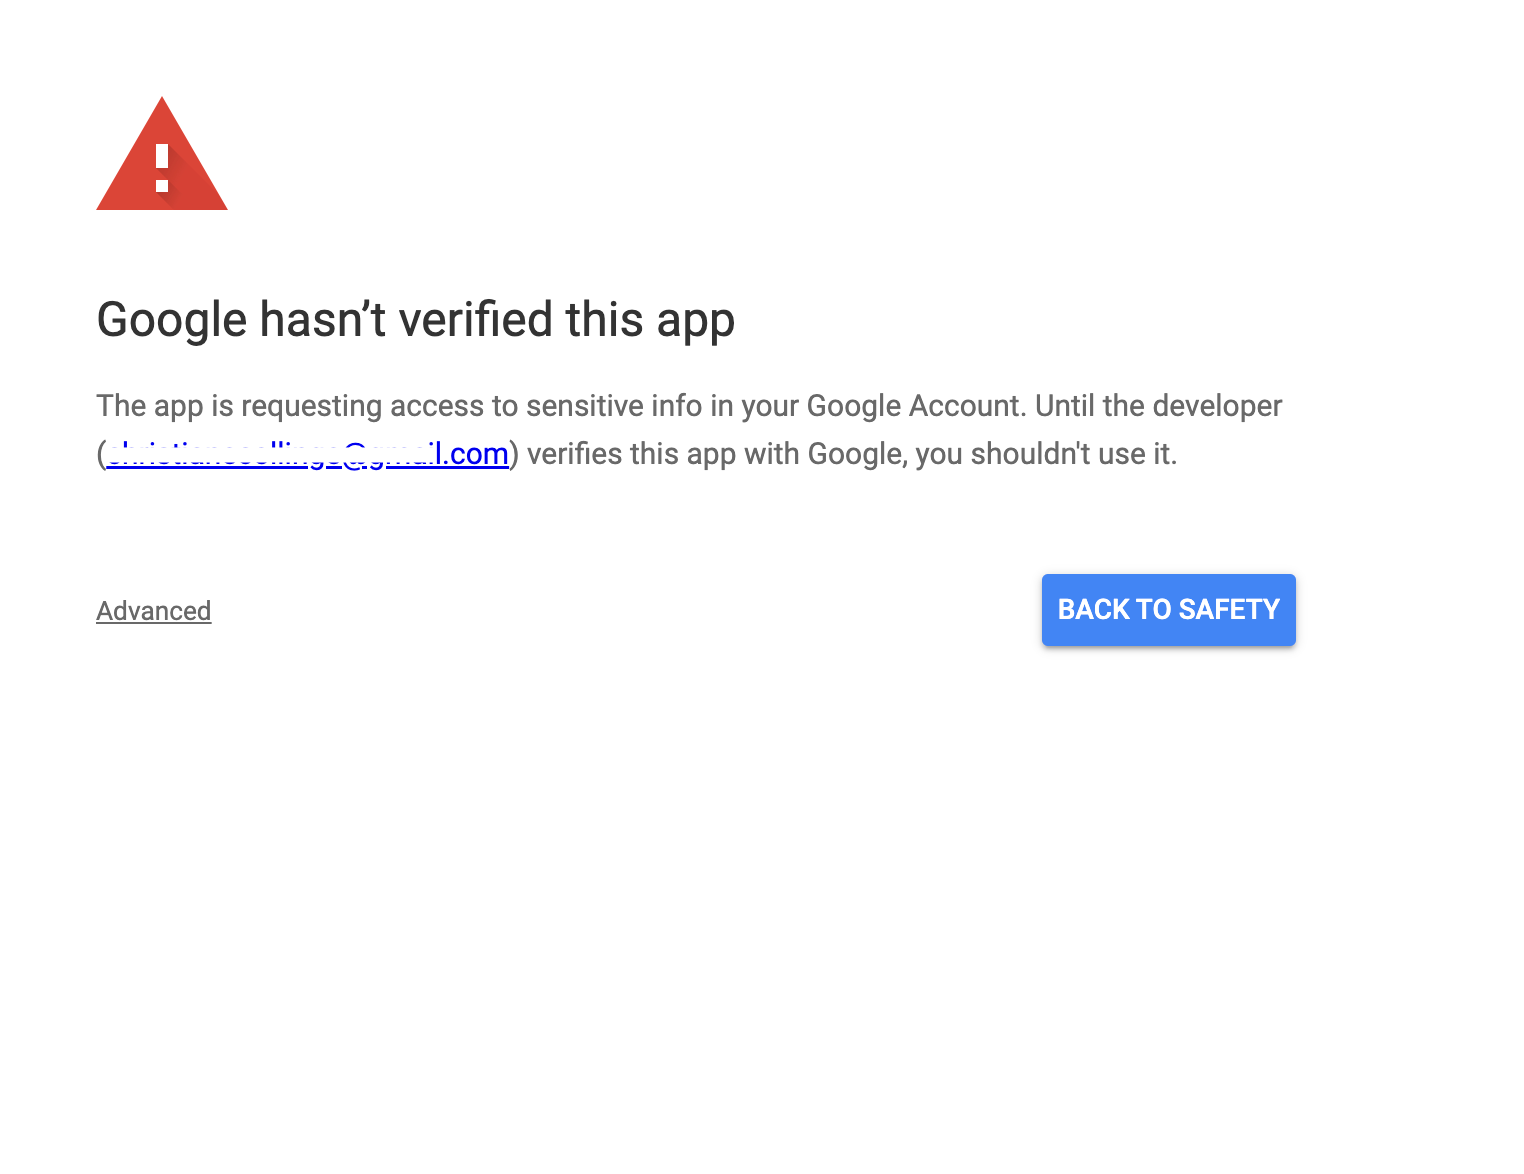
This warning only appears because the app has not gone through the Google verification process but is safe to use since you’re the developer and know what the app does.
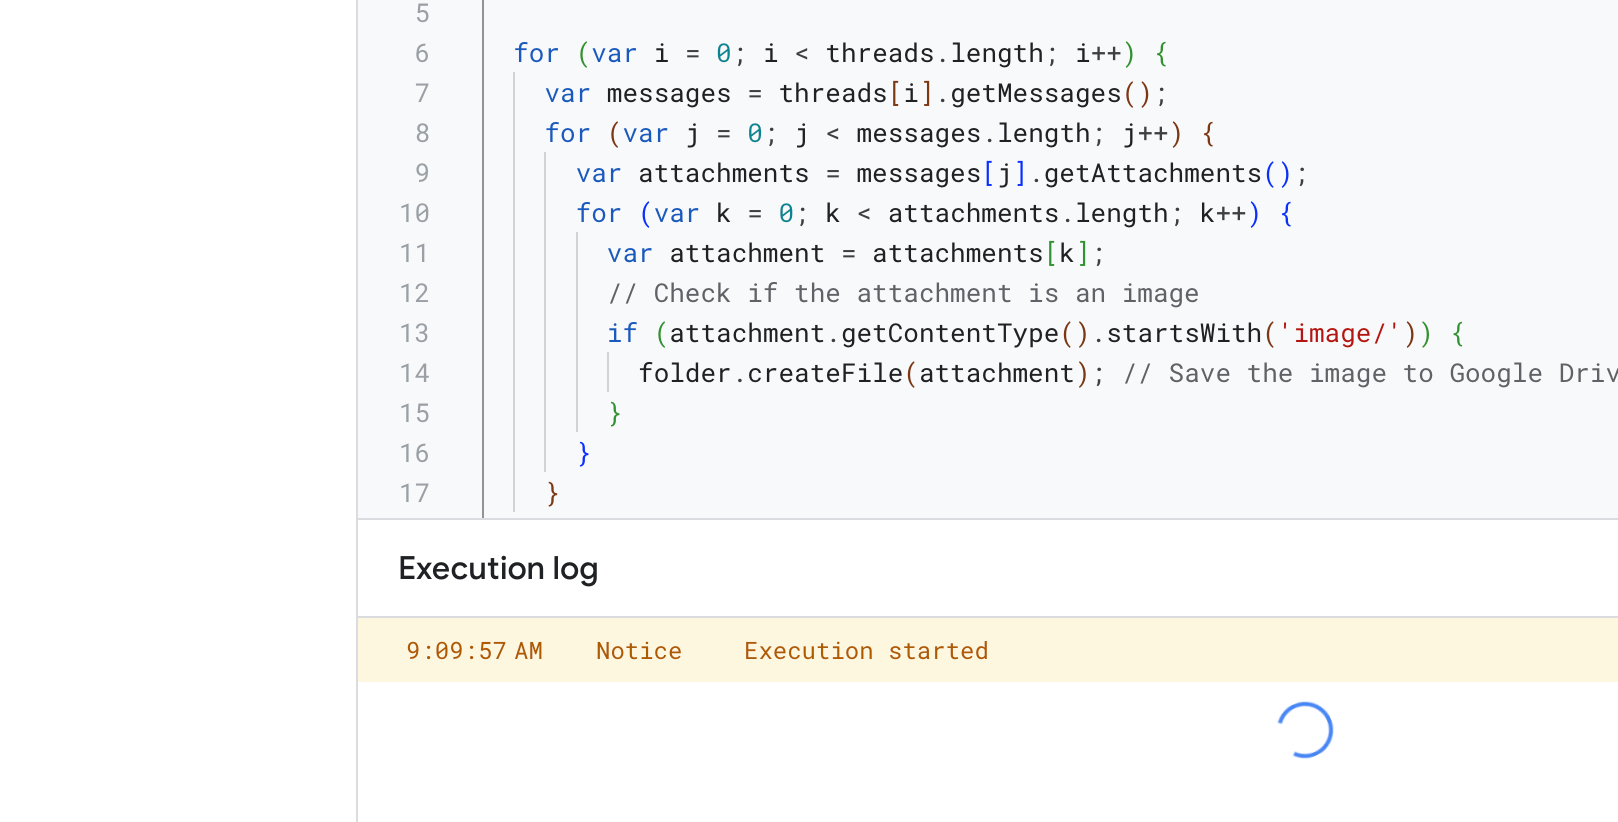
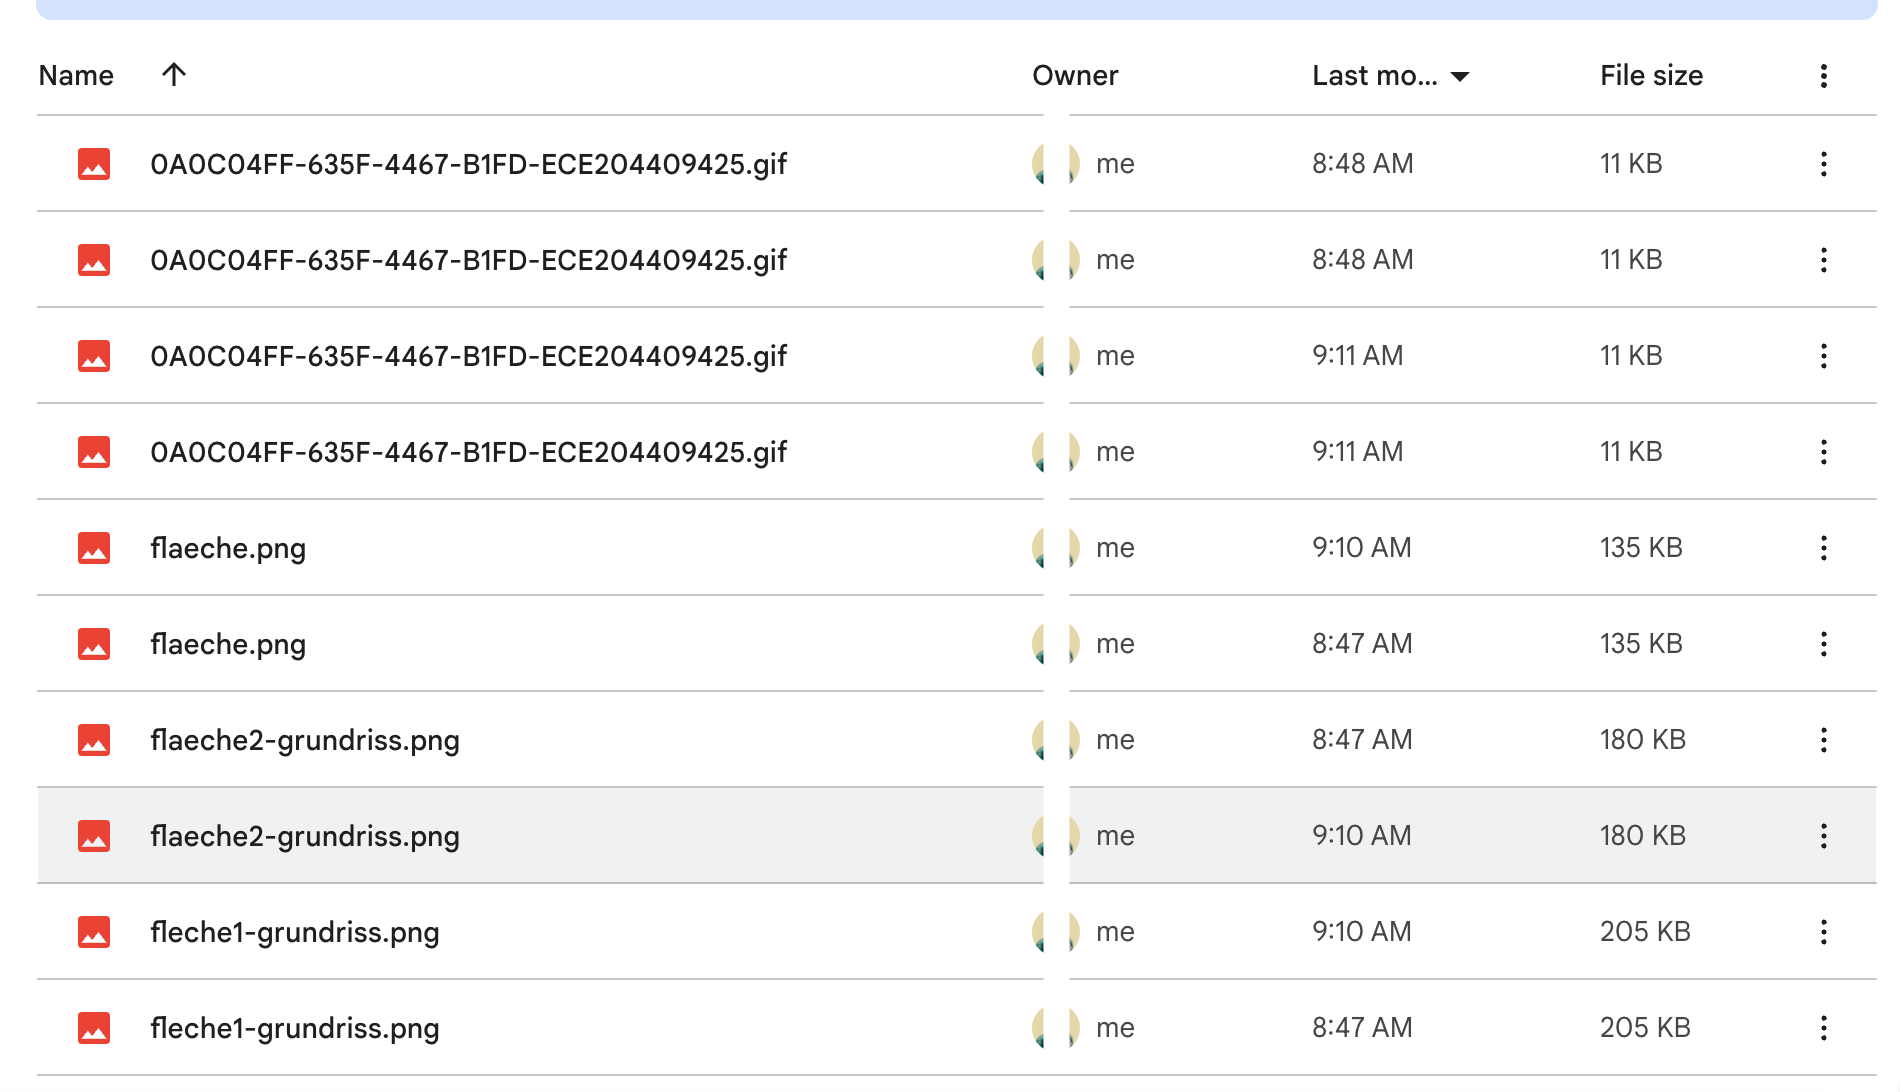
If everything is set up correctly, the script execution might take a bit of time depending on the number of emails and attachments. Once completed, you will find all the image attachments saved in the “EmailImageAttachment” folder you created in Google Drive. This folder will contain the downloaded images that match your specified email filters.
